
As Gail discussed in her blog post Plastic Pollution in the Garden, plastics have become ubiquitous in gardens. While there is still much to be learned in terms of how plastic contamination impacts soil (and garden) health, I’d like to discuss some tips I have for removing one of the common forms of plastic which can contaminate soils – plastic mulch.
What is plastic mulch?
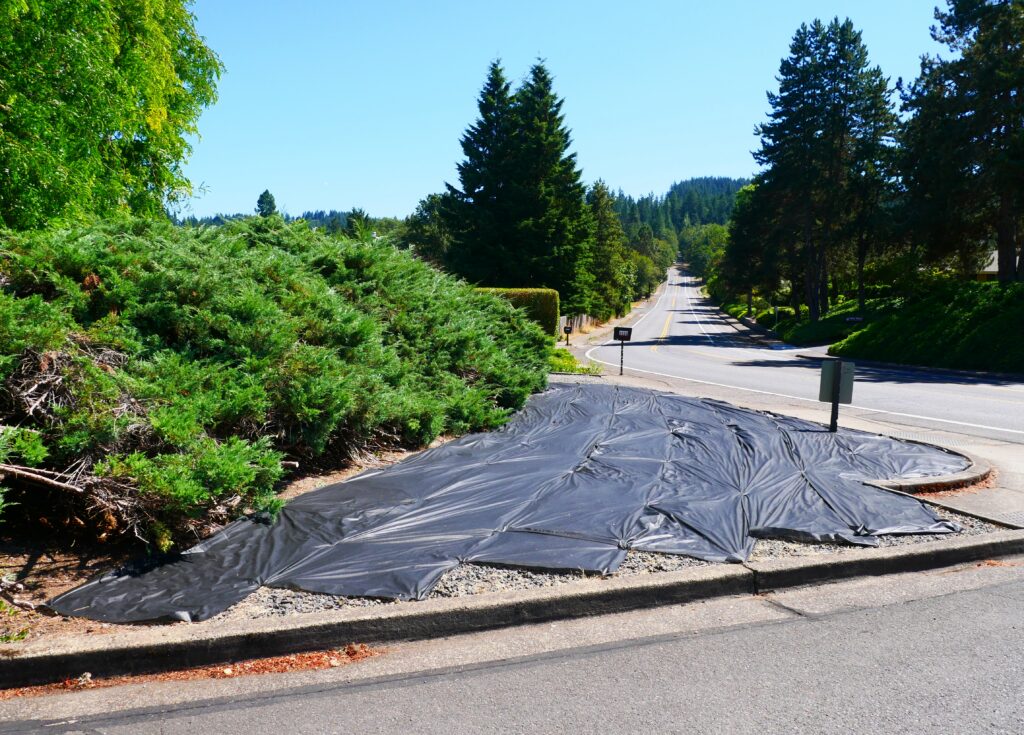
Generally speaking, there are two types of plastic mulch. Woven plastic mulch, often called “landscaping fabric”, and plastic film mulch. Landscaping fabric is more durable and is often intended to be used for many years. Woven landscaping fabric is common in commercial landscape installations, and is often laid down beneath a layer of organic mulch (such as bark chips) or rock mulch. Home gardeners also use it for a variety of reasons. Plastic film mulch is commonly used on farms, but it is also used in home gardens. This type of mulch is typically only recommended for use over a single season, though in practice many gardeners (and farmers) might use it longer. Both types of mulch become brittle over time and can contribute to microplastic contamination in soils.

I have plastic mulch in my established garden! What can I do?
Whether you yourself applied plastic mulch in the past, or you’ve inherited it from a previous steward of your garden, it can be both physically challenging and time consuming to remove from soils. Especially if you are taking over an established garden and were otherwise unaware, it can be a little alarming when you first realize that there may be sheets of plastic lurking below what appears to be a very well-kempt garden.
If you are one of the many people who are becoming tuned in to the (sometimes scary) world of microplastics, you might have some anxieties about the plastic mulch which may be contributing to microplastic pollution in your garden. You might have fears about plastic mulch negatively affecting the ecology of the soil and be worried about the long-term health of your garden. If this describes you, I am here to provide some calming reassurance. While plastic does affect soil ecology, if your plants seem to be generally healthy, I wouldn’t worry excessively about the long-term health of your established garden. No need to remove established trees and shrubs in an attempt to eradicate the plastic mulch their roots might be entangled in. Whether we like it or not, there are likely many other microplastics in your garden soils, from a variety of sources.
Unfortunately, there is no easy way to remove plastic mulch from soil, especially after it has degraded (which happens quicker than you might think). Read on for some tips that might be able to help you, if you have a plastic mulch removal in your future.
Dealing with plastic mulch around trees or shrubs (“woody” plants)
Trees and shrubs can be very resilient and often tolerate a wide range of soil conditions. However, most trees and shrubs aren’t able to tolerate a large amount of root disturbance. You may need to make a judgement call: do you want to remove the plastic from the soil, or keep the tree/shrub? You might find that you need to leave at least some of the plastic, to keep the tree/shrub.
In an established garden you might find that the roots of the plants you are trying to preserve are growing throughout the plastic mulch. If this is the case, you likely will not be able to remove a significant amount of the plastic without also killing your trees/shrubs. It really depends on what type of plants you have, as some woody plants can tolerate being dug out and moved while they are dormant in the winter. For example, with the right technique even mature roses are fairly amenable to being moved. Generally speaking, younger woody plants are more tolerant of being moved. In any case, whenever you attempt to move a tree or shrub you should take care to follow best practices.
If you are worried about killing your woody plants by moving them, or if you have an established plant that will not tolerate being moved, you might want to try propagating them from cuttings. If you elect to go this route, be sure that you are following recommended methods for your particular plant species. Additionally, be sure that you are taking hardwood cuttings from juvenile growth, which is not necessarily located where you might think on a tree or shrub. After you take your cuttings and stick them in the media (soil) of your choice, it is imperative that they not dry out. Finally, be sure to take many more cuttings than what you think you might need. It is likely that not all of your cuttings will root successfully.
Dealing with plastic mulch around herbaceous perennials
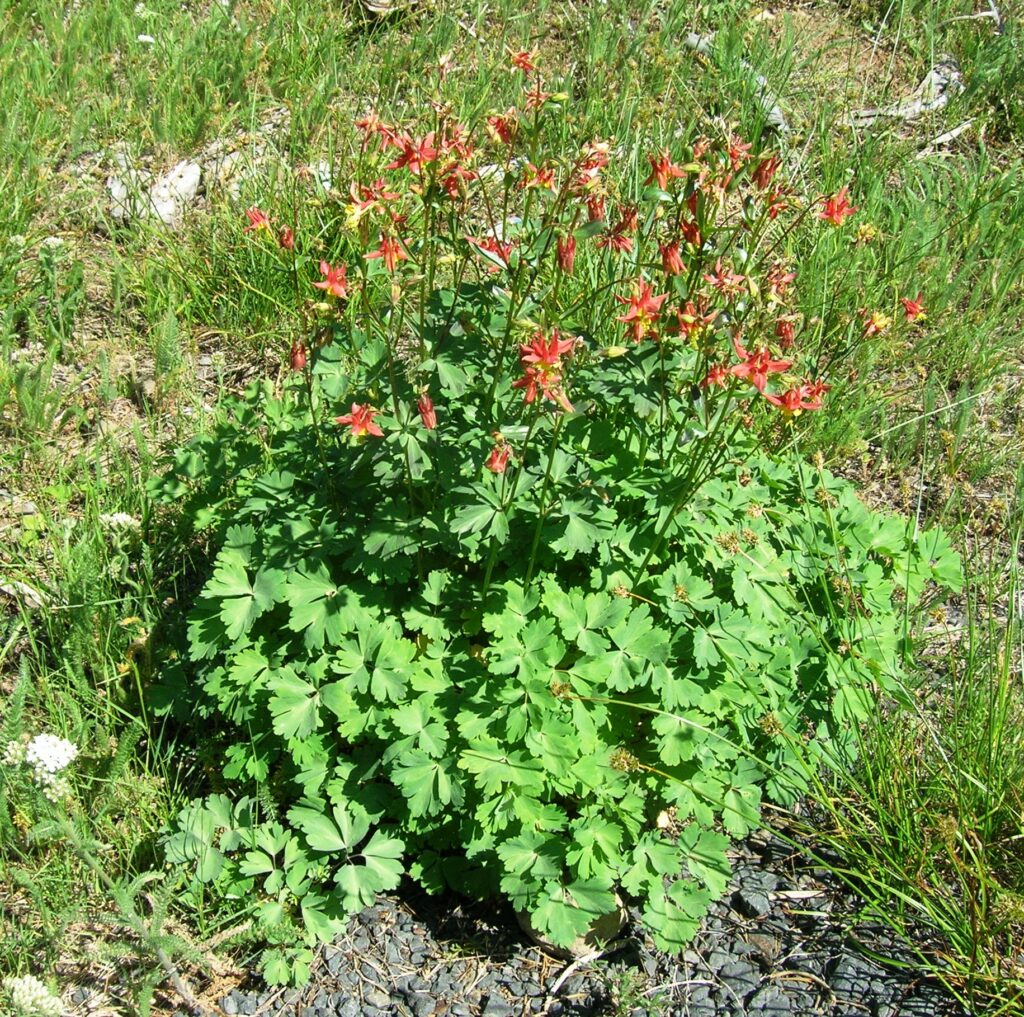
Most herbaceous perennial plants tolerate being dug out and moved, as long as it is done at the right time with care. In general, plants respond best to being moved when they are dormant. If you are digging out herbaceous perennial plants (such as yarrow, columbines, asters, etc.) this is also an ideal time to divide them.
An example from my life
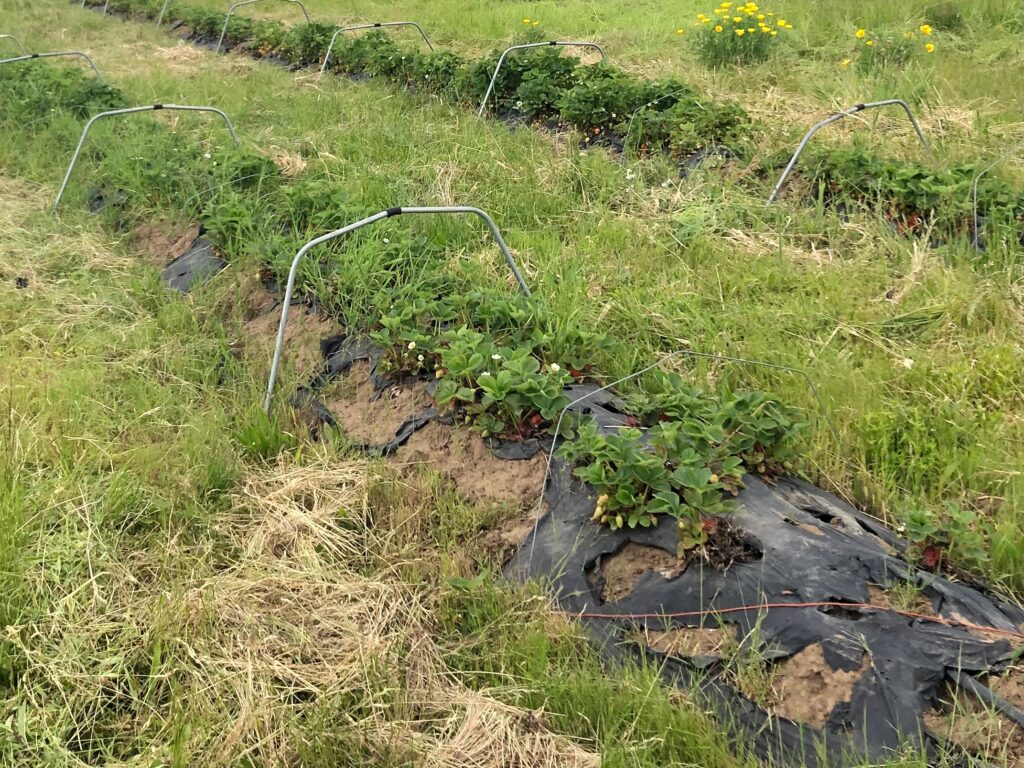
I have a bit of experience removing black plastic film mulch from soil, and I’ll share with you what I learned from that process. When I dealt with plastic mulch removal, it was on rows of strawberries (that we were also removing and replacing) on a small farm. The plastic had been there for about 6 years, and after that amount of time it was so brittle and degraded that it was very difficult to remove without shredding (figure x). How we dealt with it was:
- We chose to schedule the removal during a time of year when the soil was moist and workable, but not sopping wet.
- When the soil is too dry/hard, the plastic shreds more. When the soil is too wet, you end up with a muddy mess
- Because this was in Corvallis, this happened in the fall. If you are also located in the Willamette Valley spring would also work, but I would avoid winter and summer.
- We employed the strategy of “many hands make light work”.
- We had about 10-15 people working on this, over three (~1 hour) relaxed sessions. There were four rows, each 100 feet long and about 3 feet wide, just to give you a sense of scale.
- We used hand trowels, hori-horis (soil knives), and our hands to gently remove the plastic.
- I made sure that everyone working on the project knew that this was a tedious and delicate process, and that it was necessary to go slow to minimize plastic shredding.
Step-by-step instructions
- Cut back and carefully dig out any herbaceous perennials you want to preserve and set them aside for replanting.
- Most herbaceous perennials can tolerate being moved in my experience, though you might have to baby them for the first year after replanting.
- Make sure you don’t let their roots dry out, and replant them as soon as possible.
- Some woody perennials and even shrubs can also tolerate being moved, but it depends on the species and their age.
- Gently scrape the surface soil off the plastic, and place into a bucket or wheelbarrow. Take care not to tear or puncture the plastic, as best you can.
- You might want to use a dull trowel and hands for this.
- Once a portion of the plastic is exposed, say 2 square feet for example, slowly pull up the plastic.
- If needed, use scissors or a hori-hori (soil knife) to cut the edges of your exposed plastic to separate it from the plastic still buried.
- Don’t fret too much about soil clinging to the plastic, it is inevitable that you will have to throw away some small portion of soil.
- Throw away the plastic, and any grass or other unwanted plants that might have their root systems growing through the plastic.
- Be sure to not place plant material with attached plastic into your compost or municipal yard waste bin.
- Replace the soil you had set aside and replant any herbaceous perennials you had set aside.
- This is also a good time to plant new plants, if desired.
- Top the soil with a thick layer of organic mulch, such as woodchips.
- Be sure to not pile mulch directly around the base of trees/shrubs.
- If you’d like, you can also lay down a layer of compost underneath the woodchips. No need to work compost or any other soil amendments directly into your soil.
Remember:
- Make sure everyone working on this is prepared for a delicate and tedious process. It won’t be fast, and attempts to make it go faster will likely cause issues with the plastic shredding and/or too much disturbance to the roots of your trees and shrubs.
- Schedule this for a time when the soil is moist and workable, but not totally saturated with water. If you are here in the Willamette Valley, early fall or late spring is a good target.
- Divide your garden into sections and focus on one section at a time.
Have you had to deal with plastic mulch removal in your garden? Do you have any tips you would like to share? Comment to share your experience!
Recommended reading
Transplanting or moving trees and shrubs in the landscape
https://extension.psu.edu/transplanting-or-moving-trees-and-shrubs-in-the-landscape
Divide and conquer plants to keep them healthy and productive
https://news.oregonstate.edu/news/divide-and-conquer-plants-keep-them-healthy-and-productive
Cutting propagation methods for PNW native shrubs and trees
https://depts.washington.edu/propplnt/Chapters/Cuttings.pdf
Propagating Shrubs Vines and Trees from Stem Cuttings
https://extension.oregonstate.edu/catalog/pub/pnw-152-propagating-shrubs-vines-trees-stem-cuttings
Plastic Pollution in the Garden
https://blogs.oregonstate.edu/gardenecologylab/2025/10/09/plastic-pollution-in-the-garden/
Image credits
Figure 1: https://www.flickr.com/photos/46052415@N08/52334656395 by Rick Obst, licensed under CC BY 2.0
Figure 2: https://commons.wikimedia.org/wiki/File:Mulchfolie_auf_Gem%C3%BCseacker.jpg by Florian Gerlach (Nawaro); licensed under the Creative Commons Attribution-Share Alike 3.0 Unported license.
Figure 3: https://pixabay.com/photos/gardening-garden-design-plants-331668/ by Menita on Pixabay
Figure 4: https://www.flickr.com/photos/93452909@N00/183357157 by brewbooks, licensed under CC BY-SA 2.0
Figure 5: “Degrading plastic mulch in rows of strawberries” By Anna Perry

