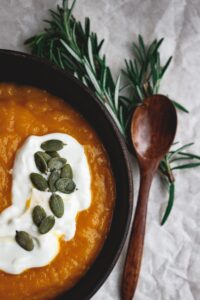
February 16th, I attended OSU’s Culinary Breeding Network Variety Showcase event, sadly one of my last public events before COVID-19, and sampled a Tetsukabuto cream filled Purple Karma barley waffle cone. It blew my mind. Creamy texture and not-too-sweet, the squash was a perfect marriage with the dark chocolate-lined barley waffle cone. I planted Kabocha seeds and plan to attempt to replicate this dish.
Folks love the comfort-food quality of pumpkin and warm spices, and often ask how they can preserve their winter squash. Unfortunately, pressure canning pumpkin (or other winter squash) puree is unsafe. The density of the low-acid puree prevents thorough heat penetration, creating a serious food-safety risk of Botulism. If your “Charlie Brown Pumpkin Patch” has produced more than your freezer can accommodate, consider canning them in cubes and puree after opening the jar. Also, check out Food Hero’s winter squash and pumpkin recipes, nutrition information, coloring sheets…so much goodness… on their website.
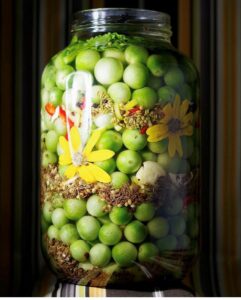
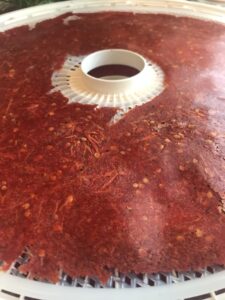
Can’t find jars or lids? Remember the dehydrator and powder technique I shared in the last post, Tomatoes and Autumn Sweaters? This technique works for winter squash too. Wash, cut in half and roast, leaving the skin on, until soft. Scoop out the flesh and mash or puree. Gently cook it down to the consistency of canned pumpkin and add spices to the pulp for pie filling or soup base. Dehydrate on a leather tray at 135 degrees f until crispy. Break into shards and grind into powder and store in an airtight container. Don’t waste the seeds! Toasted Pumpkin seeds, aka Pepitas, are delicious and full of nutrients. Instructions here.
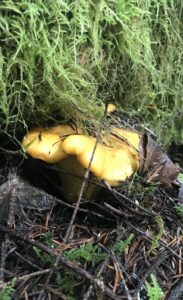
My favorite seasonal treat, wild mushrooms, present a similar issue when it comes to preserving. Freezing and dehydrating are the only research-based, university-approved methods to preserve wild mushrooms. Mushrooms have a low pH (6.2) and are a food safety risk for Botulism. Due to their uniform size and density, commercially-grown button mushrooms have been researched, resulting in safe, tested recipes. Chanterelles and other edible fungi have not been tested. (I would love to see research on other safe ways to preserve Oregon’s state mushroom.) Until then, I’ll happily forage, freeze, and dehydrate.
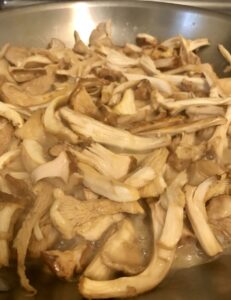 I like the effect of dry sautéing mushrooms. It releases their juices and yields a beautifully caramelized mushroom, perfect for dehydrating or freezing. Instead of boiling away the mushroom juices, I save them in a container to use as broth for freezing. (Or mushroom gravy.) If freezing, I add a tiny amount of butter or olive oil at the end of cooking so the mushrooms get somewhat crispy, but I don’t add fat during the cooking process if dehydrating them. (The oil can become rancid over time.)
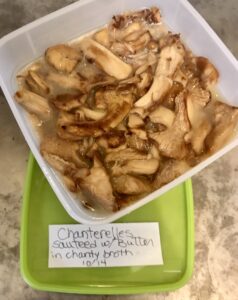
FYI, button mushrooms do not need to be cooked before drying, but due to the fibrous nature of chanterelles, they benefit from pre-cooking. Our Master Food Preserver dehydrating guru, Don Wiley, explained that the cell structure of most vegetables, and this includes fibrous mushrooms like chanterelles, needs to be broken down before drying so they aren’t tough and rubbery when reconstituted. (Steaming is a fine method of pre-treatment.) After dehydrating, consider grinding them up for an easy mushroom soup base, perfect for backpacking or camping, or leave whole. Sealed in an airtight container or vacuum sealer, they’ll keep for months to years. Thank you Don!
Until next time, friends… enjoy the beautiful Autumn weather and fruits of the season. Look for more information on the OSU Extension Family and Community Health program on Facebook, Instagram, YouTube, our website, and newsletter.