When the player enters the start interface of the game, the first thing the player sees is the game menu. The UI screen and location of the menu will change the player’s first impression of the game. A good game menu should be concise and clear and the appearance of the UI should match the background settings of the game. A simplest game start interface should have two options to start the game and exit the game. In Unity, the creation of game buttons is very simple, and Unity has its own prefab. Players can create a Canvas first, and then add buttons and Text to the canvas. Unity3D and 2D have the same method of creating canvases. The difference between them is that Unity3D can add 3D modules to the UI to make the screen richer. In this project I created a scene called Hometest and added some simple 2D buttons.
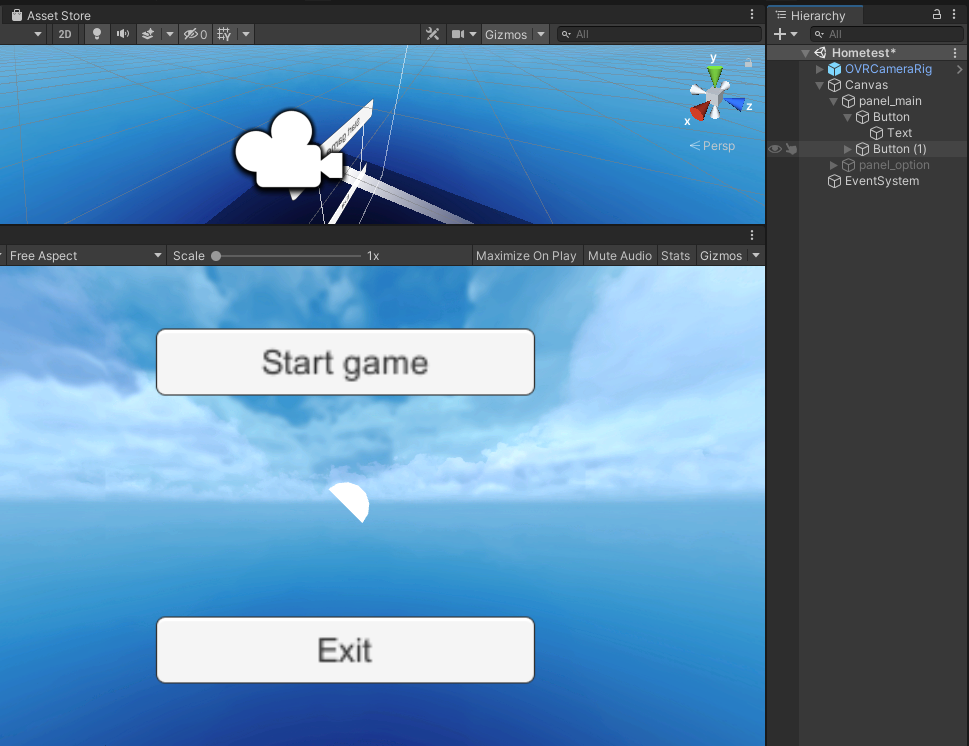
Although Unity has a large number of components and scripts that developers can use directly, these scripts are not enough to meet the expectations of developers. We can see in the picture that I created panel_main and panel_option. The screenshot of the first picture shows only the button of panel_main.
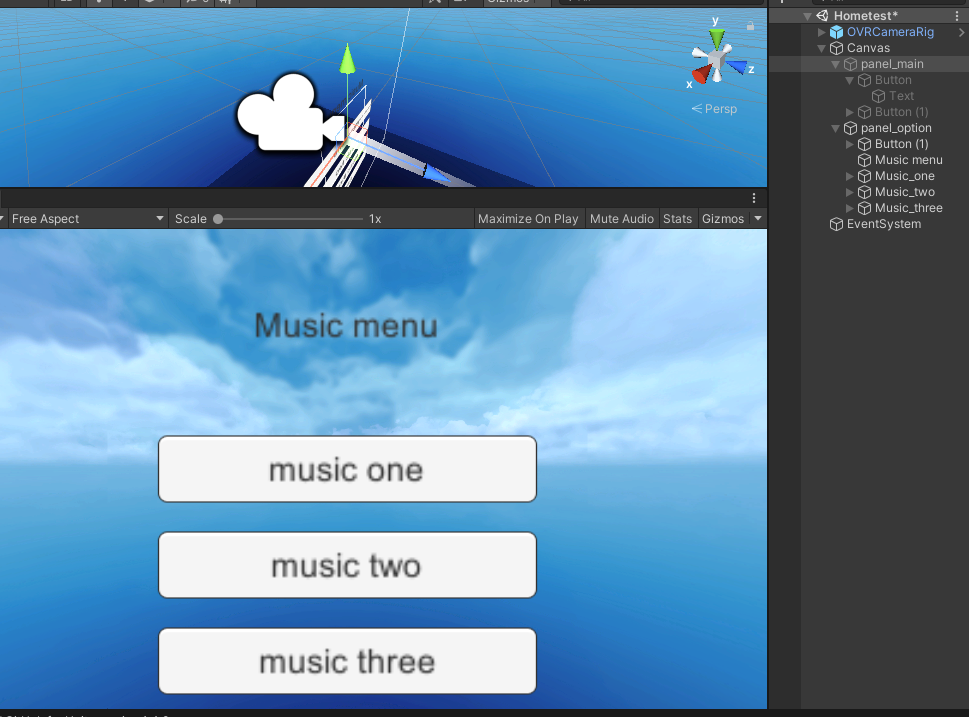
We can see the panel_option screen from figure 2. My design is that when the user selects the start game in figure 1, the options in figure 2 will automatically pop up. Before the user chooses to start the game, these Music Menus will not be displayed. In order to achieve this, we need to write our own scripts. Keep panel_main in the player’s field of vision. When the player clicks on the start game, the player can get the hidden panel_option.
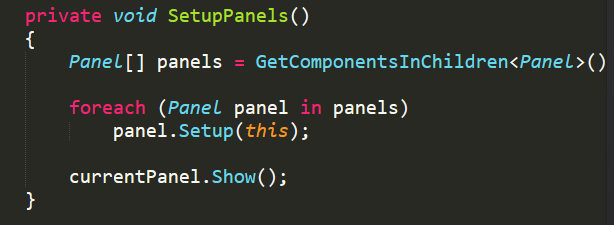

The code of figure 3 is to let Unity know that the Current panel is the scene to be displayed in the initial screen. We only need to add the script to Canvas, and let the current panel selection include panel_main (figure 4).At this time, we need to write another script to let Canvas know which is the picture that needs to be displayed and which is not. When we are done, we can achieve the effect we want by adding a click script to the controller used by the user.