Let’s talk about the best ways to do event promotion on social media. Yes, this means how to create eye-catchy graphics. As we dive deeper into this topic, I’ll break down ideas by each platform.
Here are image specs that you need to keep in mind when promoting your event on Facebook.
- Facebook Event image specs: 1200 x 628
- Native feed image specs: 1080 x 1080 (1:1 ratio)
Facebook Events:
Let’s start with creating a Facebook Event. When designing a graphic to be used in the event, you should keep in mind that you don’t have much space to cram every detail into the graphic. The event page itself can do that for you.
The best graphic you create is an eye-catchy image. Try a headshot of your speaker, a research photo, or a campus beauty picture. Add the title of the lecture or event to the graphic and that’s it. Images that are flooded with info and text will not help draw attention to the event.
Now when you go through the rest of the Facebook event setup, you can add more details including date, time, description of the event and how to register (if needed).
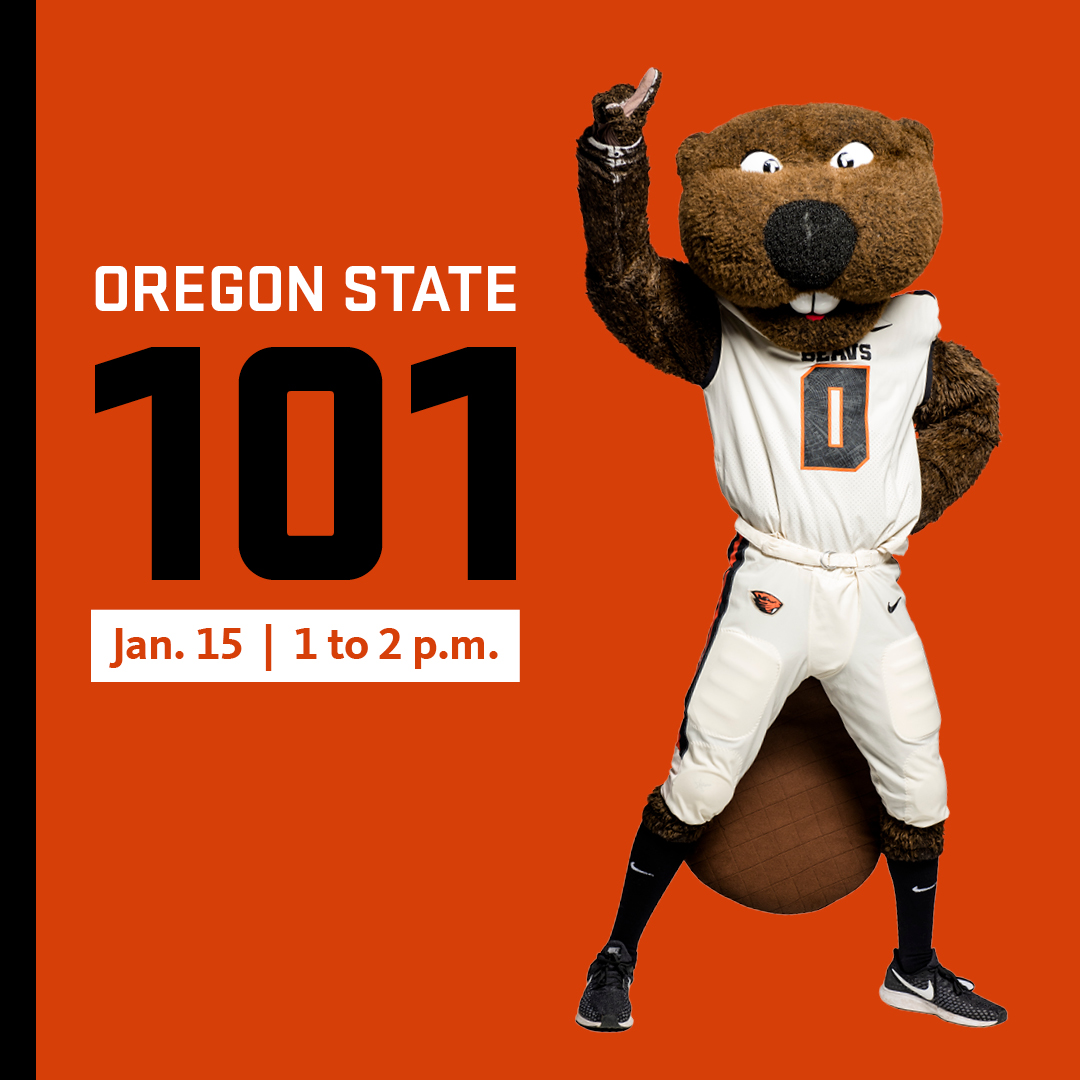
For example, this Facebook event cover isn’t too text-heavy but still has the title of the event.

Facebook timeline:
Just like Facebook Events, the best way to grab the attention of your audience is with a simple graphic. You can use the same image as you did in your event graphic. In this case, it is okay to add the date and time for your event. This graphic can also be used again if you wish to promote it on Twitter.
This example below is of how you can change up your Facebook event cover to be catered towards Facebook or Twitter.
Twitter is just like Facebook. You shouldn’t overpower your image with text. You have 280 characters that can help.
Here are image specs that you need to keep in mind.
- Native feed image specs: 16×9 or 1080 x 1080 (1:1 ratio)
Event promotion on Instagram is good for engaging students. It’s better to use Instagram Stories rather than your native feed because Instagram is a photo and video sharing platform. People will not engage with text-heavy posts.
Here are image specs for Instagram:
- Instagram Stories: 9×16
- Native Feed: 4×5 (preferred since it takes up more of the screen) or 1080x 1080
Instagram Stories:
Using Instagram Stories to do event promotion is great. You are able to tweak your graphics to be the right specs and either use the “swipe up” feature if you have that or “Link in Bio” for any registration or more info you wish to provide.
Another way to use Instagram Stories is to have multiple cards/slides to deliver information about the event. Have a slide with the title and date and then another with time and location. This helps get all the info across without overcrowding one simple slide.
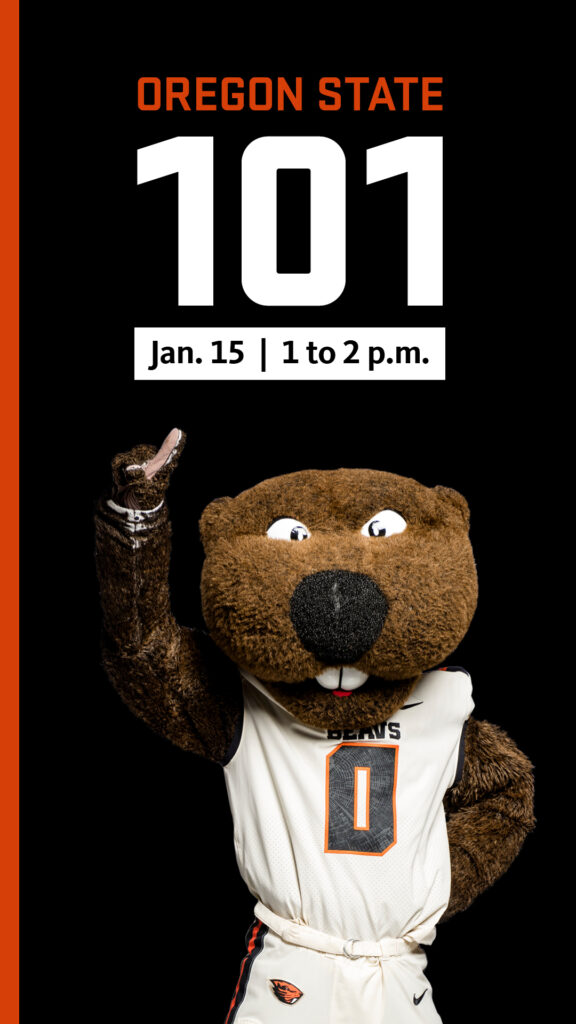
In the example below, the original image was tweaked to fit IG Stories and still has the most important info.
Instagram Feed:
The feed is not best for text graphics because Instagram is a photo and video sharing platform. People are less likely to engage with something too text-heavy. Try using Instagram Stories instead to help reach your audience. If you do want to post to your feed we suggest using a really high-quality photo– a headshot or campus beauty. In the copy, you can add all the details to the event and you can send people to “Link in Bio” if you need more space. If you have a link in your bio make sure it stays up for the duration of your event promotion.