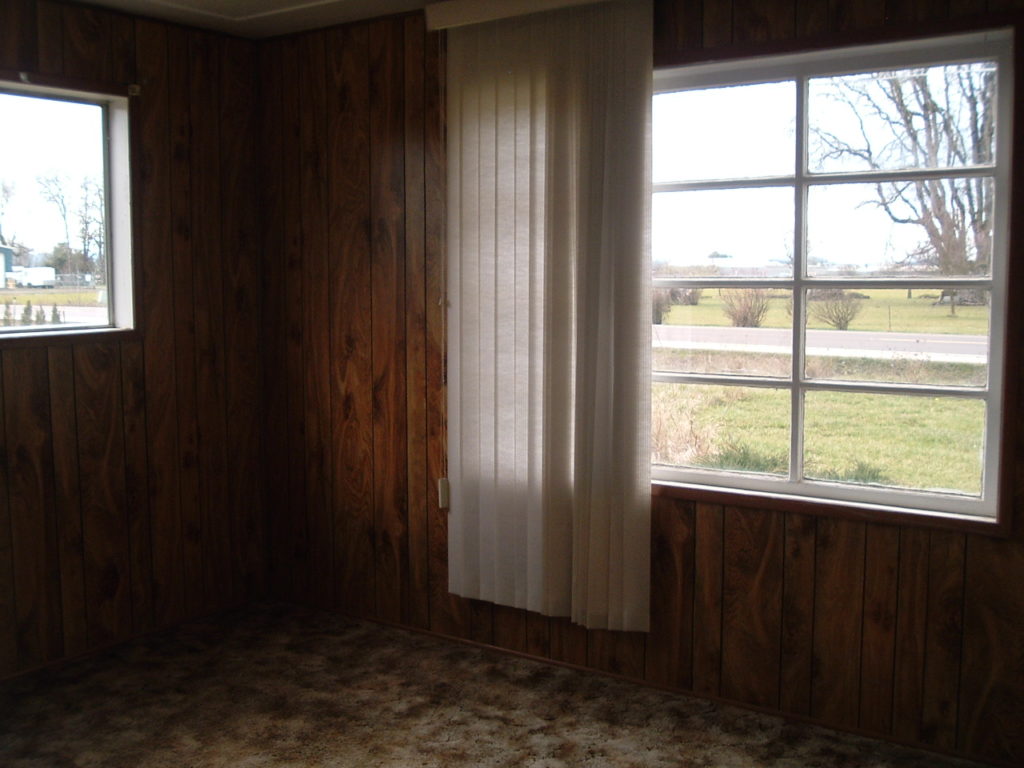

The west side of the house was originally two separate rooms. One was a bedroom sharing Jack-and-Jill access to the bathroom and a closet, and the other was the living room area with what would have traditionally been the formal entrance to the home, but probably never used as such.
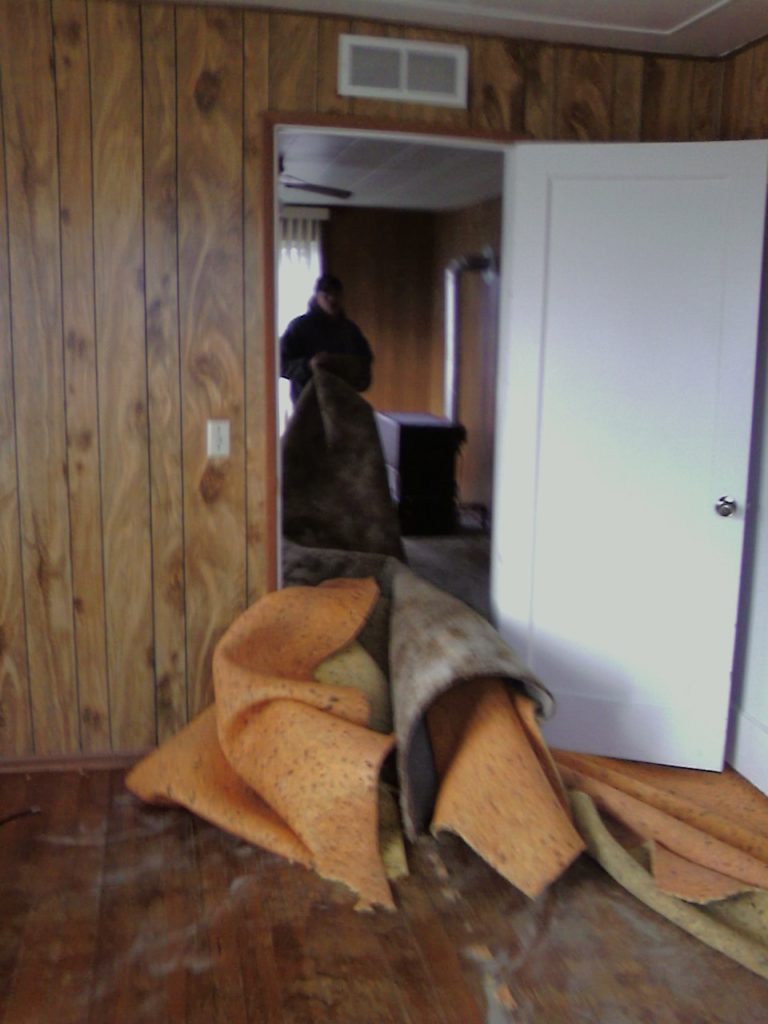
We started by taking out the wall a few years ago, leaving an exposed beam that we covered with stickers. On New Year’s Day 2020 we started demolition. Walls went down to the studs and the hardwood floor that we uncovered when we moved in was covered up with underpayment. I know – you might say it’s a crime to cover beautiful hardwood, but there were big gaps from where we removed the wall.
Next, Alpha Associates electricians came in and rewired both rooms, including installing new ceiling fans in both and wiring for uplighting in the crown molding set about six inches from the ceiling.
After that came the folks who install drywall, who carefully covered our stickers for some future remodler to find. And then the Village Builders put up all the trim (including that crown molding!)


You have to imagine what it was like to get rid of the wall pictured above and the difference that it made. The room runs 12 and then 14 feet wide, and now 32 feet in length. It’s a wonderful ‘open concept’.
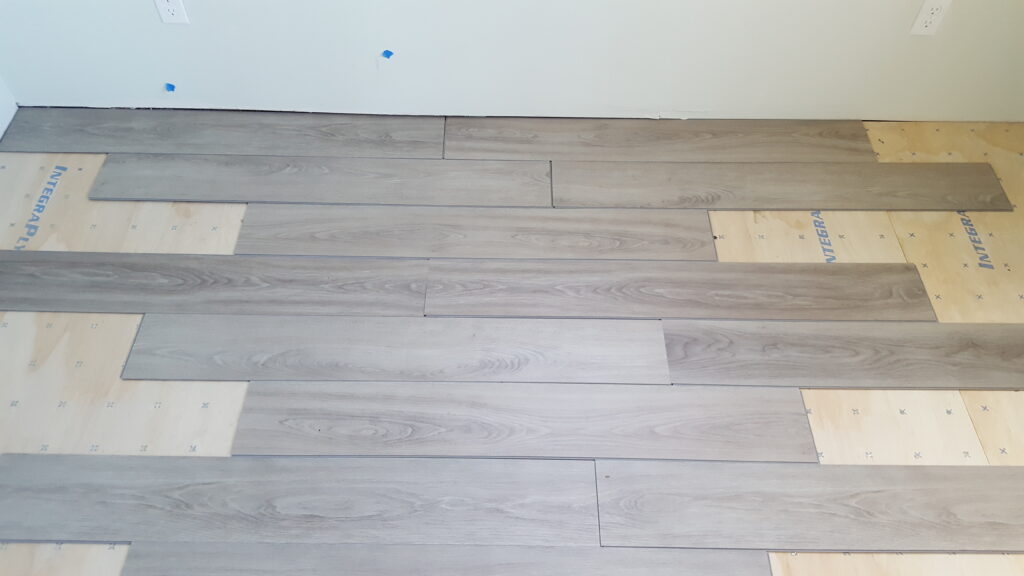
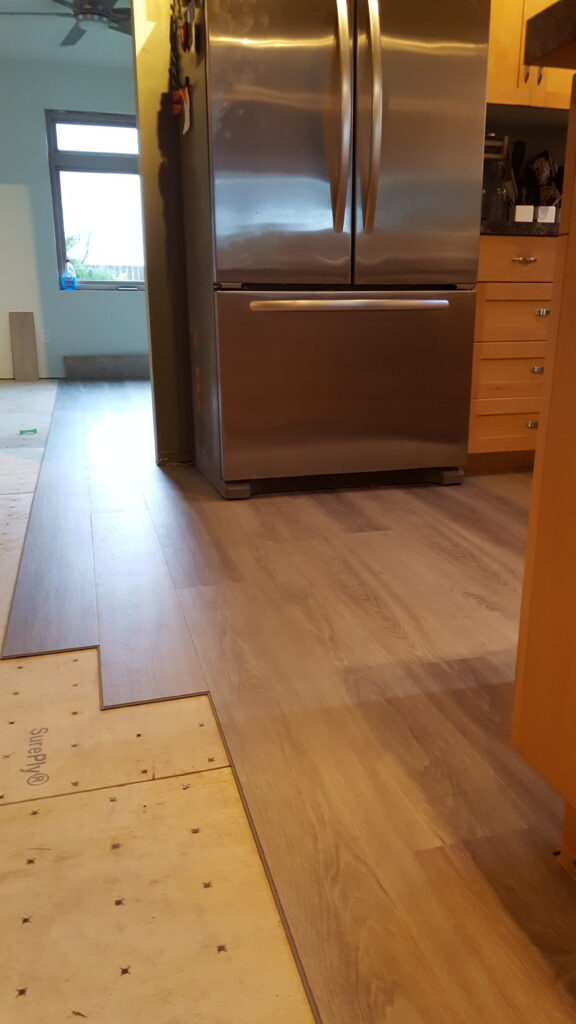
It’s an extensive run of the luxury vinyl plank, though. I think I’ll leave that to the professionals next time. The amount we laid covers the living room, dining room, kitchen, main entry and laundry area.
We finished up just as COVID-19 hit. I took a week off and listened to the radio as I spent that time painting. It’s pretty incredible how many coats it takes; as the light shifts throughout the day, you’re always seeing something you missed.
Two and a half months, less than $10,000, and the downstairs is complete. All that’s left is ‘a little work’ upstairs.
Bonus photos:


