My first choice from the available projects for this capstone course was the Embedded System Digital Audio Loop Station, for a few of reasons: on a shallow level I’m interested in music, on a kiddie pool level I’m interested in audio synthesis and digital signal processing (though I’m a complete n00b in the context of the latter), and on a past-the-buoys level I’m interested in embedded development (where I was just as clueless).
I had done very basic embedded development in the past. For my contribution to the team project in Software Engineering I, I had developed an IoT application that used a sensor onboard a Raspberry Pi to send temperature & humidity data to a cloud database:
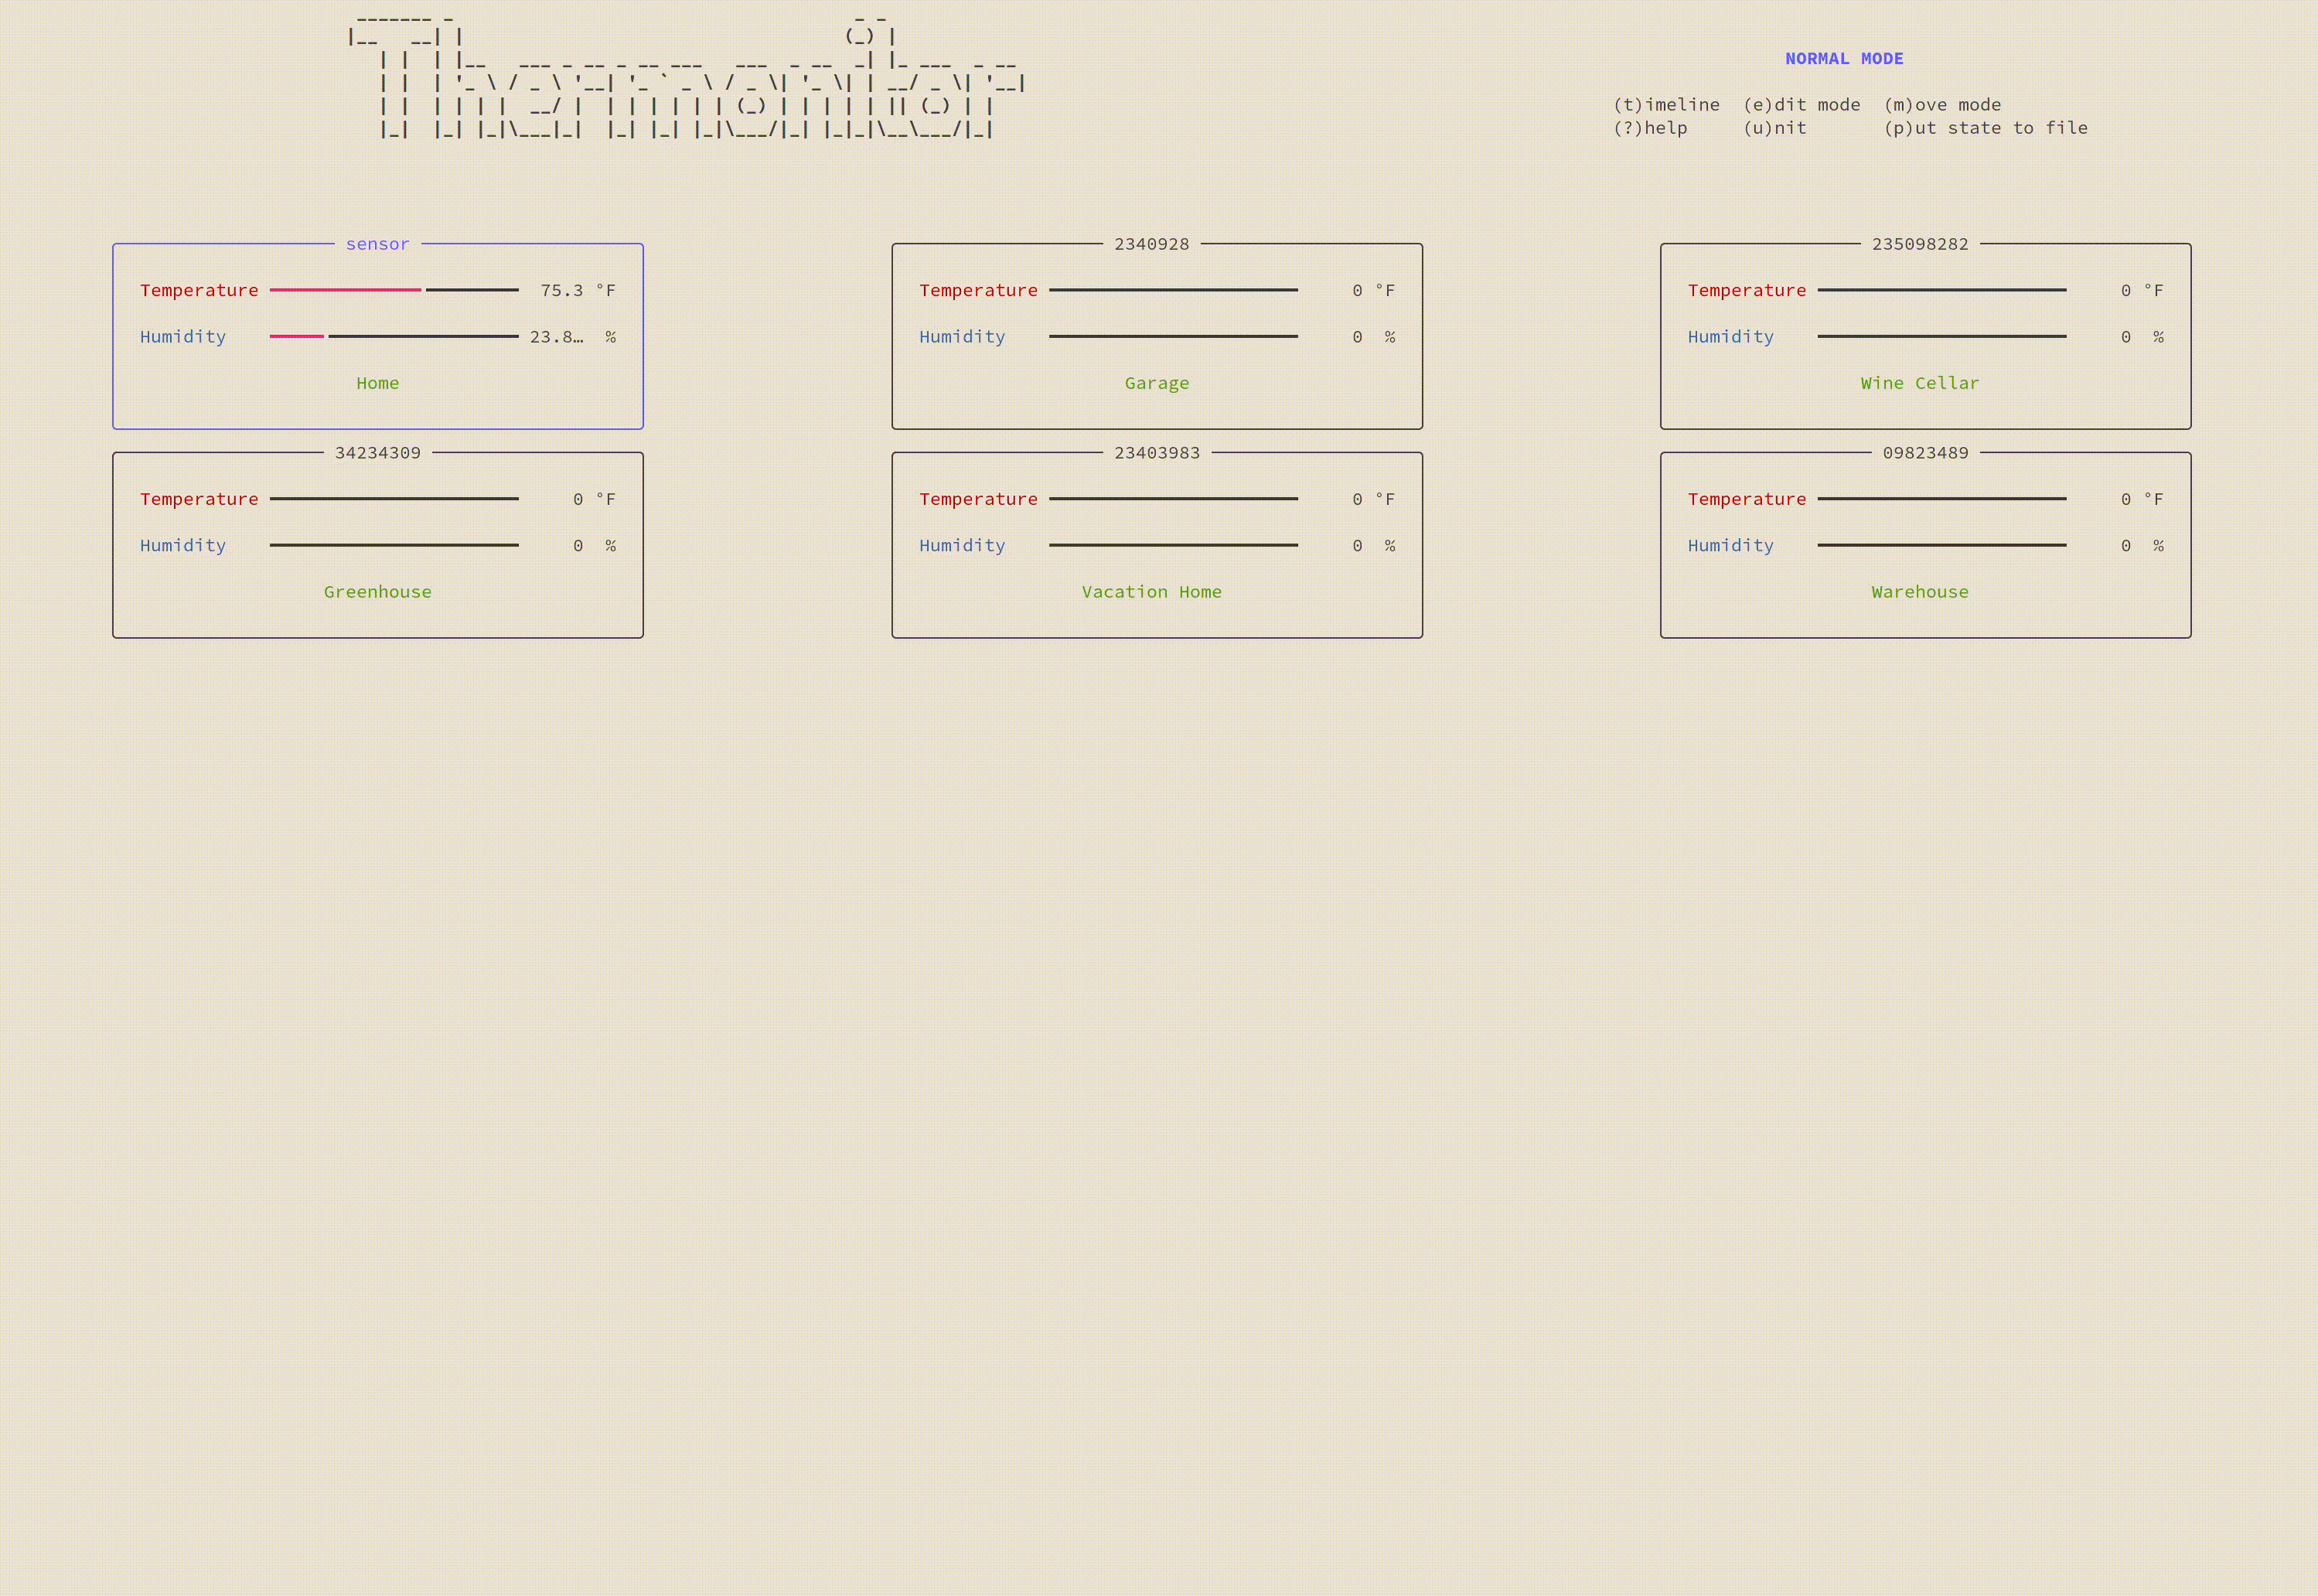
I was (and still am) proud of that project, but I’ve recently come to understand that, for the sensor software at least, this was embedded development on training wheels. It was an embedded system in the sense that it communicated directly with peripheral hardware, but I was afforded quite a few luxuries that often aren’t available when doing embedded development.
While it is possible to flash a software image onto a bare Raspberry Pi, I used it the way most common, with a full Linux OS installed. This meant that a runtime environment was available to any applications that were run on the device. For the deployment, it was still necessary to cross-compile the application for the device, but because the executable would later be run from a standard shell, I didn’t need to make other accommodations.
Most devices available for embedded development are more “streamlined” than the Raspberry Pi, so they aren’t capable of running a full operating system. The Arduino microcontroller is a product that falls into this category, as is PJRC’s Teensy development board. Both devices are often used for DIY and educational projects; the Arduino was a pioneer in the scene, and has built up a large community and tool set that contribute to its continued success; the Teensy, which was created later, placed more emphasis on improving the performance of the hardware itself, resulting in higher clock speeds and more memory in a smaller form factor.
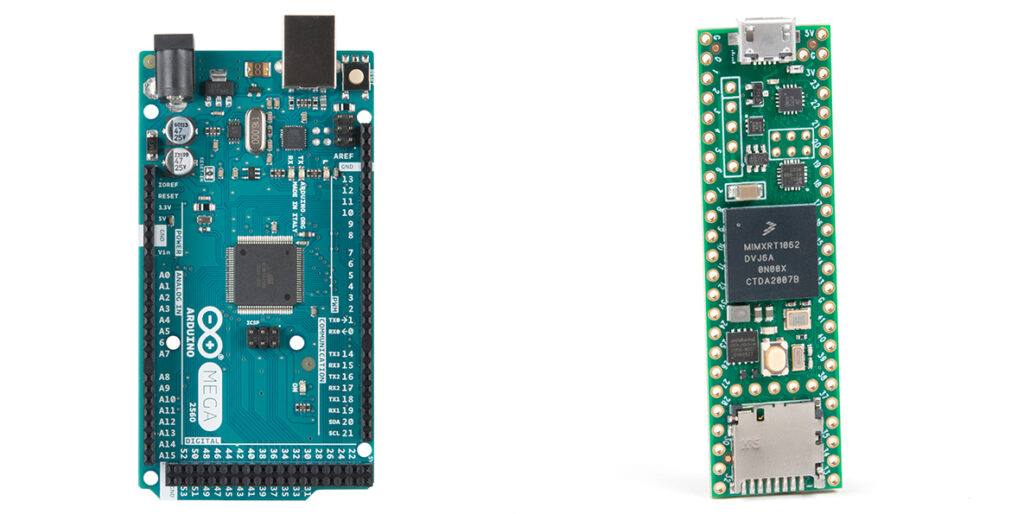
Image credit: Sparkfun.com
Our team has a need for speed, so we decided to use the Teensy for our project. Although its intrinsic support is relatively lacking, it is capable of latching onto most of the tools and libraries created for the Arduino. In the past, this required a custom patch to the Arduino IDE, but as of version 2.0.0 of the IDE, it is natively supported by the Arduino Board Manager. Besides the bells and whistles commonly available in IDEs, this provides the added bonuses of a software loader (for flashing the image onto the device) and a USB debugger (for… debugging over USB).
These features are very handy indeed, but for those of us that are too stubborn to adopt new editors, there are, thankfully, still other options: the Arduino CLI offers most of the tools found in the IDE, packed into a compact Swiss army knife of a command line tool, and it can be largely automated with a simple configuration file. While I haven’t yet tested if it can load an image onto the Teensy, PJRC does provide a graphical loader and a command line loader that are built for that specific task.
Tune in to the next post for status updates and action shots!