How to Add a Vector to Another Vector, or Things I Know But Struggle to Apply

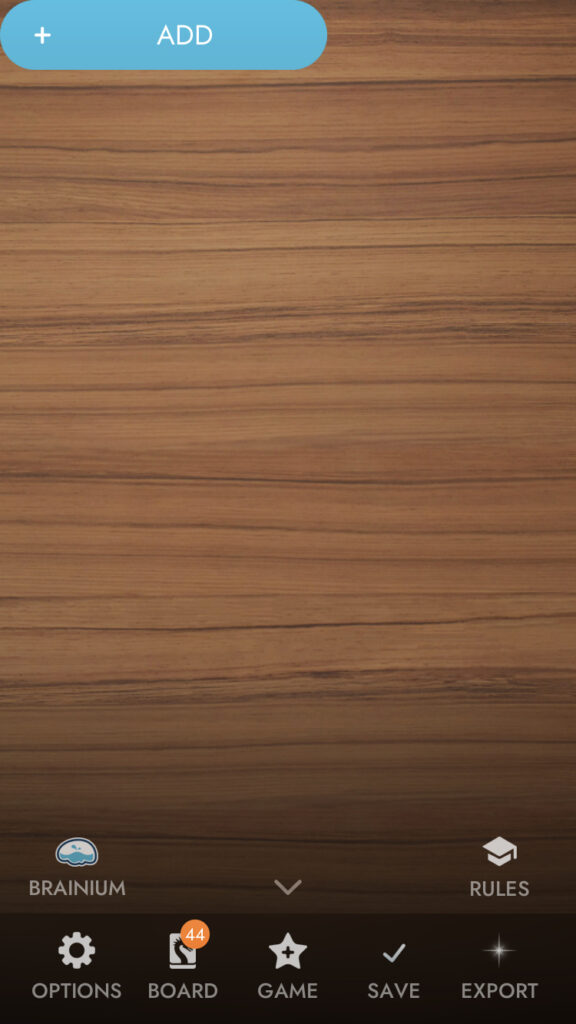
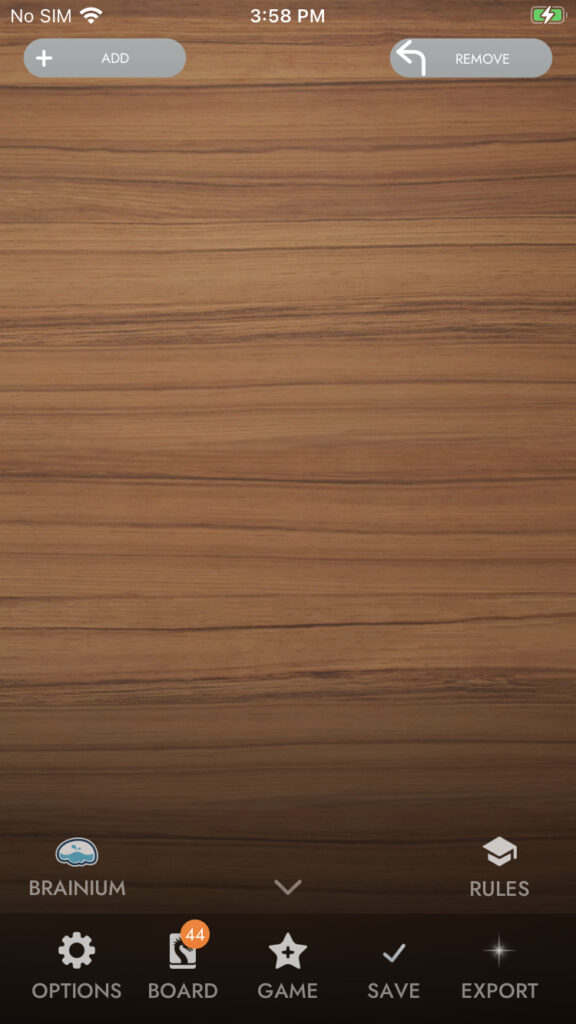
This week I dabbled with creating the counter label and some functionality for the previously made add/remove buttons, but once again I spent the bulk of my time working with buttons. 

With much of the base UI complete, I needed to really start getting into the nitty gritty of getting tiles placed where the designer pressed on the screen, but I had one big question–how on earth do I do that? Posing my query to another engineer over coffee, they posited that one way I could accomplish this would be by turning the screen into a grid of buttons. My wheels immediately began spinning and I was keen on bringing this idea to fruition. 

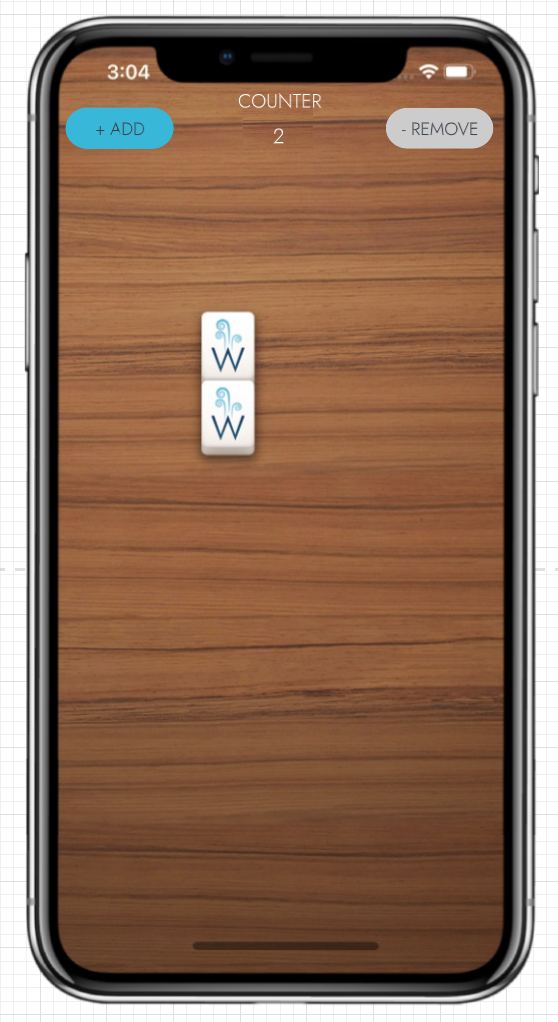
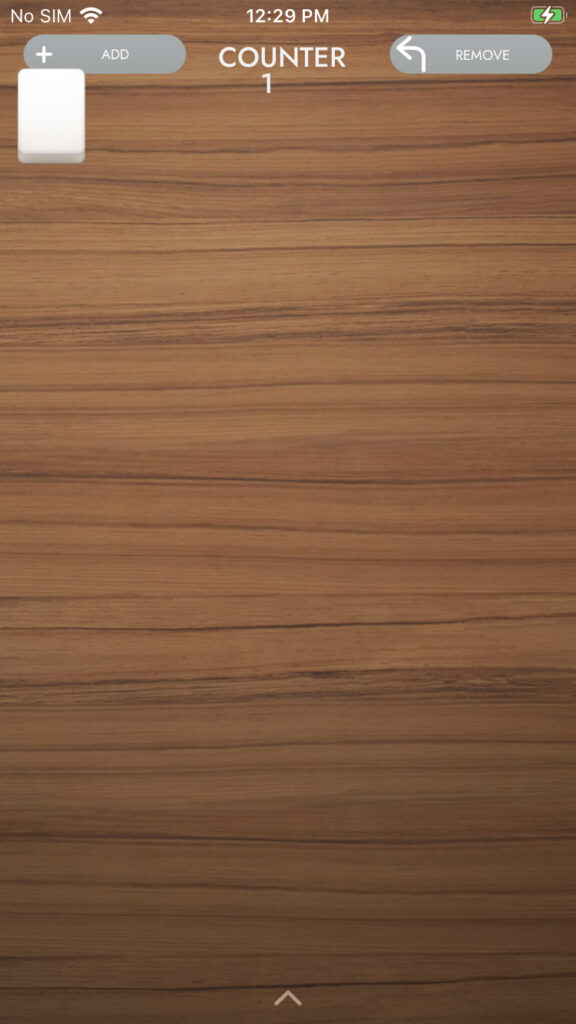
Coding alongside my mentor, we started by creating a single button that used our tile texture so that the button on the screen looked like one of our blank Mahjong tiles. Having created together a single tile button that appeared on the screen at the specified point {{x,y}, z}, my mentor challenged me to extrapolate that into a function that would return a unique pointer of a TileButton and to then use that function to create a grid.

As per usual, bumps were encountered along the way, but eventually I had written a function named CreateButton that took in the rect of the board and a TileId, and returned a TileButton that could be pushed onto the Views vector. On the screen it looks a lil something like this:

Next I needed to create a grid of tile buttons, which would be a vector of unique pointers of TileButton. Filling the vector was pretty easy as I was able to push a new TileButton onto the button vector using the CreateButton() function I’d written, like this:

buttonVector.push_back(CreateButton(rect, tileId));

Getting the buttonVector into the views vector to display on the screen proved to be an embarrassing challenge for me. As I’d previously done with adding other elements to the views vector, I added a line in my GetActiveSubviews function:

views.push_back(&*buttonVector);  

The compiler was not pleased and gave me an error I didn’t understand to which I turned to Google and Stack Overflow for assistance. This got me nowhere. 

After a lot of Googling and searching through the codebase for a similar situation, I reached out to my project mentor via Slack to talk through the issue. I described that I was trying to add a vector<unique_ptr<T>> (where T is a subclass of View) to a vector<View*>. I was consistently getting hung up on how to “add” one vector to another, as though it had to be something particular with one vector being filled with unique pointers causing .push_back(vector) to not work and that I needed to use type casting or perhaps a different function for adding the vector. 

But as you surely know, vector doesn’t have a function that allows you to insert another vector into it. To add a vector to another vector, you need to implement a for loop that moves each item in the vector to the other vector (which, if vector did have a function to add a vector to itself, that’s how it would have to be implemented).

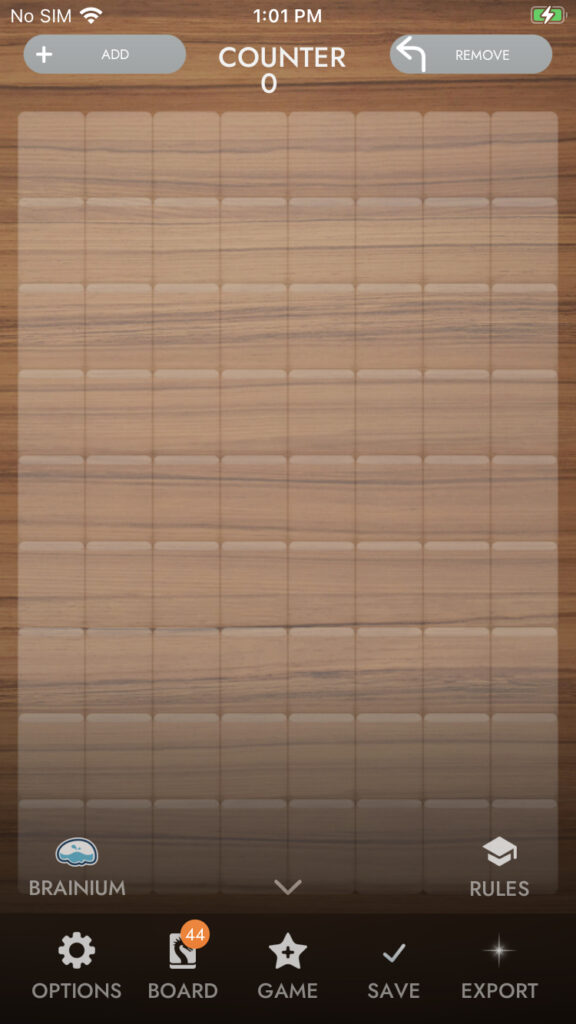
This “Aha!” moment left me with a lot of mixed feelings. I was pleased to be moving forward with pushing my vector of buttons onto the views vector by adding each button to the views vector, relieved that my code compiled, and satisfied that the grid of buttons had been created. But I was also feeling a bit of shame that I didn’t clue into this elementary concept sooner and without so much hand holding. I know that a vector is essentially just a list and that if you want to put each item from one list into another you are essentially looping through to do the job, but for some reason this knowledge was just out of reach at the time of application. 

This likely won’t be the last time some coding knowledge that I’ve previously learned doesn’t come to the forefront of my mind when it needs to, and I’ll continue to work on being kind to myself when it occurs; in the end, the goal is still to learn and grow, and this week I certainly learned something important about vectors. 

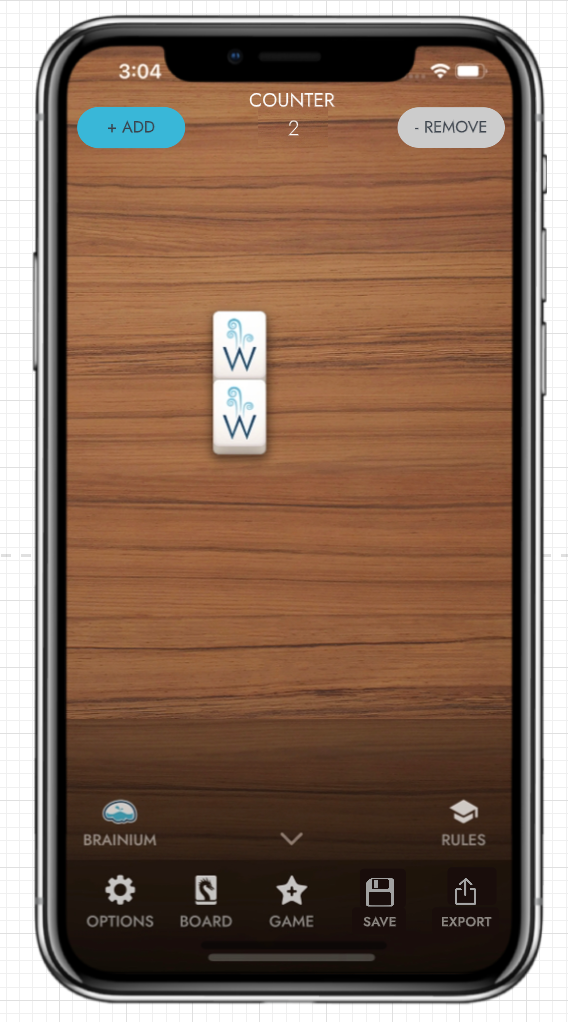
The latest iteration of the Board Editor with a grid of “ghost” tiles for designers to select and add to their board design:

Let’s Talk About Buttons

Last week with the delivery of the Project Plan, I had developed a strong sense of what I wanted the Board Editor UI to look like and generated a few prototypes to lean on as visual guides. 

The first key to getting into the Board Editor involved doing away with the Game View, so that the designer was presented with a clean, empty backdrop rather than the view of a Mahjong game to be played. By making a call to an existing MakeDirtyRecursively() function and setting up some logic for when to display the Game View or Board Editor View, I was able to get the Board Editor button in the Main Menu to result in an empty backdrop. 

With this small victory, I began going full tilt on getting the UI elements in my prototype to display in the Board Editor with the intention of fleshing out the actual implementations of those elements (i.e. export button when pressed fires the actions necessary to export the text file of the board design) later. 

The bulk of my time in this pursuit was spent examining other implementations of buttons in our game. I began with reviewing the Toolbar files and the way each button was created and added to the view hierarchy. Essentially I needed to determine if the app was in the Board Editor configuration and if so, if the user was in the Board Editor. If the user was in the Board Editor then a Save button  and Export button needed to be pushed onto the view, otherwise push the Hint button and Undo button onto the view.

As with each button element of the toolbar, the Save and Export buttons needed to have a texture/icon, a handler that would do whatever actions needed when pressed, and text for the button label, and pass these params to the ToolbarButton constructor. For now I left the handlers empty as I would write the actual functionality for these buttons later. For the textures, I opted to use pre-existing textures in our codebase for now and will add the exact textures I want for those buttons later on if time allows. Finally, for the text I simply passed the following strings: “SAVE” and “EXPORT”. In the end, this generated a Toolbar that closely matches the intended UI:

Toolbar from inside the Board Editor

Next up, I focused on getting an ADD button to the screen, which will eventually be the component to signal that the Board Editor is in add mode and taps to the screen should run the necessary functions for adding a tile in the touched location. To get this button added to the screen, I started reviewing implementations of PillButtons in other classes like MainView and EndOfGameScreen. There were a few functions I knew I needed to write based on reviewing these other classes. For starters I would need a function for getting the button rect (its positioning on the screen), one for getting the size of the button, and one for getting all of the button params to pass to the PillButton constructor.

After getting these functions written out and the code to successfully build, I was expecting to open the Board Editor and see a large blue button with a plus sign texture and the label “ADD”, but alas there was nothing displaying on the screen. Reviewing my code and comparing it to other buttons that were generated in other views, I grew increasingly frustrated and confused: where is the addTilesButton? I solicited the assistance of one of our software engineers who gave me an incredibly useful walk-through of the debug tools in Xcode, which allowed me to set breakpoints and ensure my functions were actually getting run by the program, and sure enough they were. This engineer was also now confused and curious–we had to crack the case of the missing pill button!

Both of us were thinking that either I needed to include a render function in my BoardEditorView (wrong!) or that the button was actually being rendered, we just weren’t seeing it because it was out of view (nope) or somehow hidden (much warmer).

At lunch I checked in with my mentor to see if they could take a look at what I’d implemented and see if they had any idea what steps to take next. We immediately set breakpoints and they confirmed that all of my functions were being properly called and that a button should be in the upper left corner of the screen. He then suggested removing the backdrop entirely and re-running the code. Sure enough, with the background texture removed, there was the missing addTilesButton in the top left corner, right where I placed it.

Apparently the BoardEditorView needed to be assigned to a DepthGroup in our game that set it at the same level as the GameView and by simply adding this to the BoardEditorView constructor, the addTilesButton displayed exactly where I told it to:

Stage 1 of creating the addTilesButton

Having implemented the addTilesButton, getting the removeTilesButton to the screen was quick work and with some tinkering of button params and adjustments to the button rect, I was able to get both buttons to the screen in a position that allows for the status bar to be displayed:

addTilesButton and removeTilesButton displaying in the Board Editor

I’m still working on getting a counter label to display and to have the add and remove buttons to update their color when selected/deselected, but for now I’ve at least started to hack away at getting some UI elements to display and that feels really good.

Designing a User Interface

Having implemented an access point for board designers to enter into the Board Editor from the main Mahjong app, the next phase for this project involved conjuring up what we want the user interface to look like and thinking about how we will interact with the Board Editor. 

Upon entering the Board Editor for the first time, I felt the designer should see a blank backdrop, which can be accomplished by essentially just removing the GameView to have the MainView displayed with the BoardEditorView laid on top/pushed into the Views vector. 

Besides the tile free background, there needs to be a way to specify that touches to the backdrop are for adding more tiles or, alternatively, that selecting a specific tile that you no longer want in that position allows the tile to be removed. Two pill buttons at the top of the backdrop could accomplish this, one for triggering an add mode and one for triggering a remove mode, and an indication of which mode is currently selected. Brainium often uses a specific blue color in toggle switches and in the Options Menus of our games to show a specific option is selected, so it makes sense to use this as an indicator that the particular mode is selected.

Finally, one of the important features of a valid board design is that the board includes an even number of tiles. While making a board design, it would be very easy to lose track of the number of tiles that have been placed and thus it makes a lot of sense to include a counter that increments/decrements as tiles are added/removed from the board. Our Mahjong games include an optional Timer that can be enabled and appears at the top of the game screen. This position is a suitable spot for a Counter to appear with a label “Counter” and the current count of tiles displayed below.

Bringing this altogether, the initial UI design for the Board Editor looks something like this:

Initial prototype of Board Editor UI

The other crucial UI component of the Board Editor is the Toolbar, which is part of the MainView. The Toolbar as it is designed for the game includes access to the Options Menu, Themes Menu and Game Menu, as well as the ability to call upon hints to solving a puzzle with the Hint button and the ability to go back a step in one’s progression of moves in the game with the Undo button. Much of the Toolbar functionality could still be used in the Board Editor for the purpose of changing the Backdrop in Themes or exiting the Board Editor through the Game Menu > New Game, however Hint and Undo would not need to be utilized within the Board Editor, so either they could be removed when in the Board Editor or replaced with some other functionality of importance.

Luckily for me, I needed to find a logical place to put two buttons for exporting and saving board designs, and two sensible spaces for buttons just became available. 

All told, here is the very basic prototype of the UI for the Board Editor:

Toolbar with Hint/Undo replaced with Save/Export buttons

Looks pretty good, right? Now I just need to figure out how to program these UI elements in C++. More on that later.

Appreciating the View

Much of my project brainpower this week was spent examining the existing view hierarchy for Brainium Mahjong and thinking about where the Board Editor will fit in and what its own view hierarchy should look like.

At a very basic level, the Mahjong view hierarchy looks something like this:

Starting from the root node and working my way down the tree, I pretty quickly determined that the BoardEditorView should sit at the same functional level as the GameView and should be inserted into the overall view hierarchy at this point. The resulting view hierarchy would now look something like this:

With this decided, the next step was to figure out where in the existing application would be the best entry point for accessing the Board Editor. In certain project builds there are menus for debugging that are accessed in different ways, but that logic didn’t seem appropriate for the Board Editor. In my mind I saw the access point for the Board Editor being a button that would then transport the designer to a clean backdrop display with a simple GUI for adding and removing tiles to create a new board design. Tinkering within the Mahjong app and inspecting the Toolbar, the ideal access point became clear–adding another button to the bottom of the Game menu. 

Current Game menu in Mahjong without the Board Editor

Having successfully built the project in Xcode, it was time to tinker with the MainView to add a Board Editor button to the Game Menu. I began by skimming the MainView.cpp file for how it implemented the Achievements button and began adding code to create the Board Editor button. 

This might be time to mention one important aspect of the Board Editor project. Since this tool lives within the actual Mahjong project and will soon be merged with the main branch, anything related to the Board Editor implementation needs to be written within #if BOARD_EDITOR…#endif to ensure that the Board Editor can only be accessed from a specific Board Editor build or when the “BoardEditor” build configuration is selected in Xcode. Although this can be laborious and seems to dirty the code a bit in cases of numerous #if..#endif guards, the majority of the implementation will be in separate board editor files with a single #if..#endif at the top and bottom of the file.

With some mimicry of existing code and frequent visitation to the Xcode error messages when trying to build, eventually I got a working button added to the Game Menu that when clicked, for the time being, saves the game state and slides the Game Menu down.

Board Editor button in the Game Menu of BoardEditor builds

Next up I’ll be coding the BoardEditorView to open to the selected user Backdrop with no tiles displayed, a tile counter at the top of the screen, and two buttons for adding and removing tiles.

Worth celebrating:

  • Made a new branch “board_editor” and initial commits to the project
  • Successfully created the Board_Editor build configuration and got the project building in Xcode!
  • Began fleshing out the view hierarchy for the Board Editor (read this post)
  • Selected logical UI entry point within the Mahjong project for the Board Editor to be accessed (Toolbar -> Game Menu -> Board Editor)
  • Added BoardEditorView to the view hierarchy
  • Added the Board Editor as an app on App Center for builds to be accessed by internal teams