This year was a fiery one — after jumping on multiple Discord calls and digging through Phaser 3 documentation, my team and I launched the alpha version of a firefighter simulator. The name?
Wildfire Command.
After launching it to GitHub Pages, players enter the game and deploy firehoses, fire extinguishers, helicopters, firetrucks, airtankers, hotshot crews, and smokejumpers to combat wildfires burning various terrains. The goal is to extinguish all the flames and save the map from burning. Even though the gameplay is basic, working on this project with my team taught me some important lessons.
Here are 5 things I learned from working on this project.
#1. Commit code often
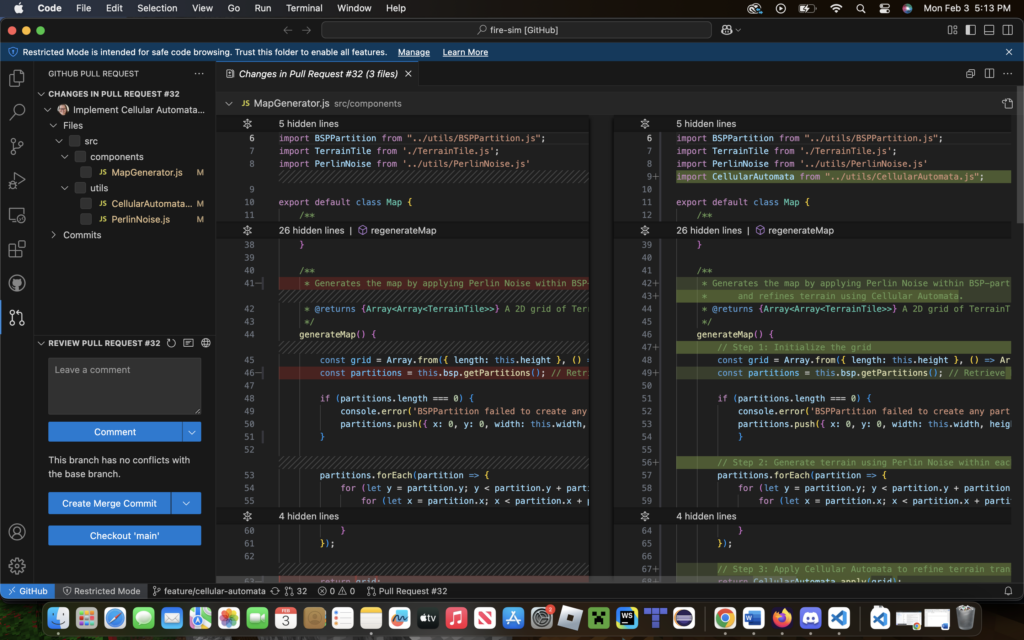
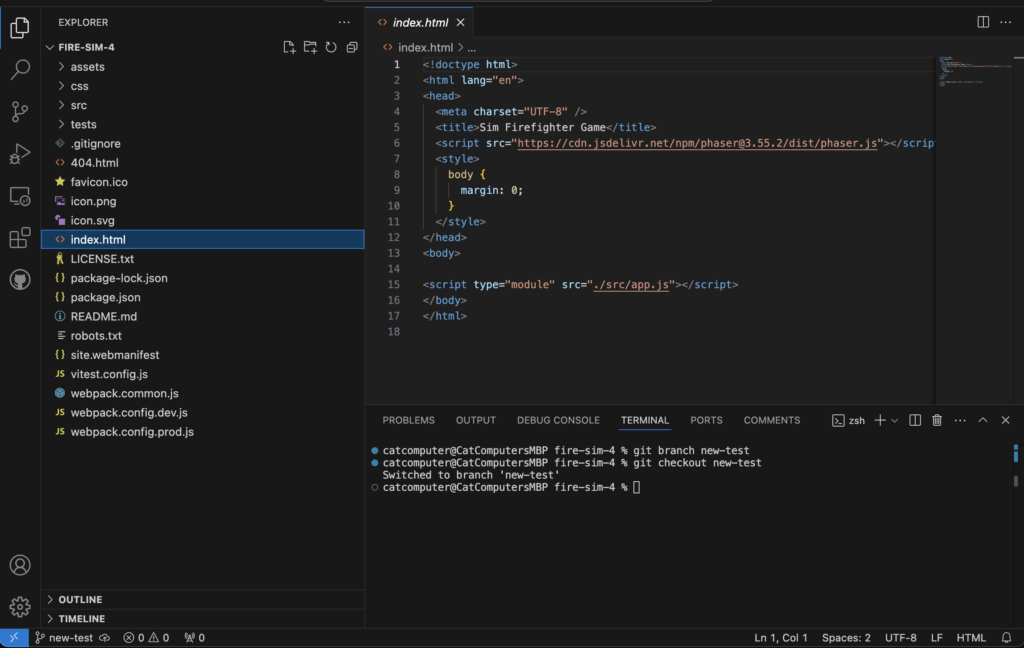
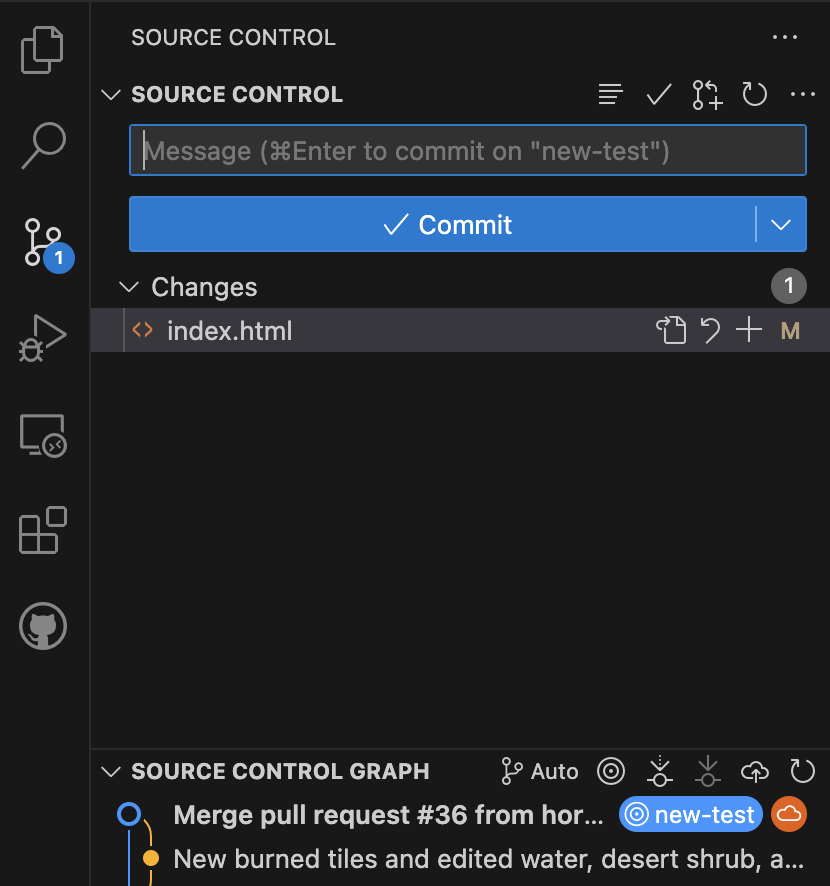
I never realized the value of committing code until this project. I used to wait until I completed hundreds of lines of code before committing to a GitHub codebase. This works great when in fantasy land with the unicorns! But unfortunately, bugs exist, and being able to track when a bug appears is really important. And don’t be shy of the number of commits, check out our main branch:

It’s a LOT, right? Nah. For Wildfire Command, I split up my tasks into ‘mini-features.’ Every time I completed one of these, I committed my code to GitHub. This made it easy to record my progress, especially when the commit messages ( git commit -m [msg] ) were very specific on what feature it contained. If I made a mistake, it was easy to roll back to a previous commit. If I broke my code in one mini-feature, none of my last mini-features were affected because they were already committed. Committing often turned out to be very convenient.
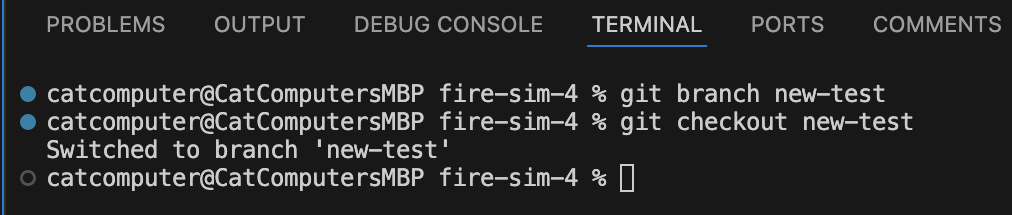
#2. Fix bugs on the same branch
One of our fire spread features was broken, and my team was stuck on how to fix it. The most efficient way to resolve this issue was to hop on a Discord synchronously, and push and pull from the same dedicated branch in GitHub. That way, we were able to tag-team in solving the issue, and when one of us fixed one part, it was easy to transfer that into each other’s view simply by pushing and pulling from the same branch.
When all of the issues were resolved, all the fixed were saved on one branch, which made a pull request to our main branch really easy. We reserved our main branch for final production updates, which were mostly bug-less. In game design, there are almost always bugs, but if the team tracks and controls which bugs are fixed and knows where the fixes are, updating the game suddenly becomes efficient.
#3. Communicate, communicate, communicate
When working on a team remotely, it’s really tempting to work on a feature like a hermit. But doing this can result in multiple team members working on the same feature, which isn’t helpful, at least… most of the time (I’m looking at you, happy accidents).

Something I recommend is to always have an app-checkins channel in Discord or Slack that the team can easily reference while working on the project. That way, everyone is aware of what every member of the team is working on. This also helps the team visualize the end product, instead of feeling lost in the weeds of unclear expectations. Doing this also helps track the progress of the project, and help show when a synchronous code session is necessary and whether a change in priorities is needed to meet upcoming deadlines.
#4. Document special processes
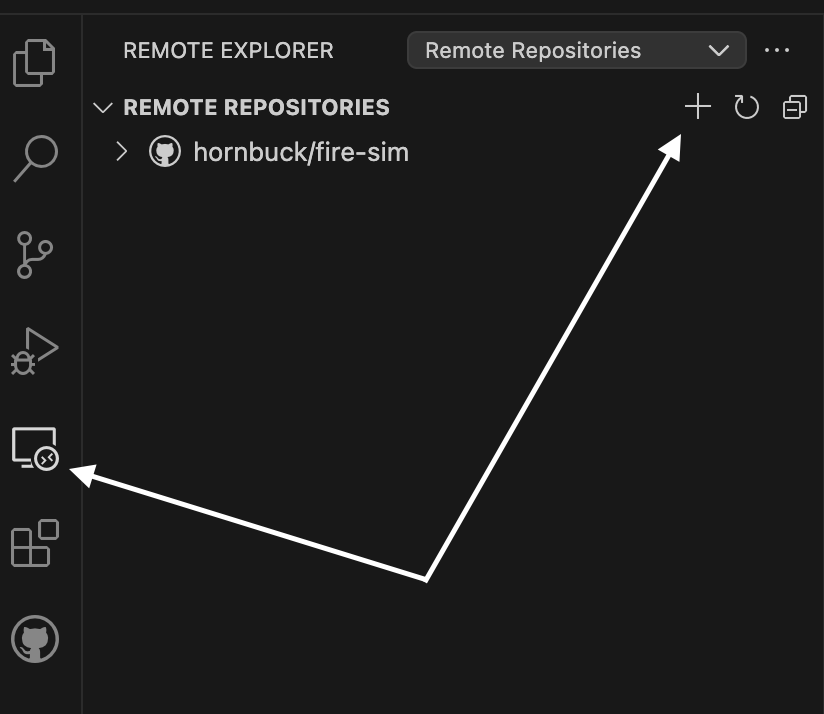
Never assume that every team member knows everything. My team came across a situation where someone repaired a GitHub Pages hosting issue with Wildfire Command, but it required running specific commands with particular settings on a local computer. Only one teammate knew how to do this, and they were gone during one our update meetings, where we were launching all of our features to production. We were stuck until that teammate was available to help us in the Discord chat.
To prevent this from happening again, we documented the steps and stored it in our shared Google Drive. That way, if any one of us on the team forgets how to deploy our project to GitHub pages, there is convenient documentation to reference. We’re all human, and it’s often that not everyone’s schedules align for meetings. But if all important processes are documented and shared with the people who need to know them, then production barriers can be prevented.
Below is a screenshot of our new Google Document detailing how to deploy a new version to GitHub Pages. Notice that the notes are simple and ‘to the point’ for working teammates:

#5. Agree on a style guide
I will admit, since my team is so small, we ended up agreeing on how to organize each feature in the code, but how we wrote comments and initialized variables drastically differed. We didn’t suffer too many consequences, but for any new team members, this could be a problem.
Therefore, I recommend building a style guide that’s stored in an easily-accessible place for all team members to reference to when working on a contribution to a codebase. That way, all the code is organized and consistent, making it easier to read for new future teammates. If you get started on the right foot with this, then it will be one step forward to managing growing teams well.
Conclusion
Wildfire Command was a fantastic project to learn from, and the five takeaways are skills I plan to adapt as we continue updating the game and move on to other projects in the future. These skills are integral when working with other people, and, when implemented successfully over a long period of time, makes it more fun to be involved.
So, if you commit code often, fix bugs on the same branch, communicate, communicate, communicate, document special processes, and agree on a style guide — may the code be with you.