Getting started with TensorFlow can be a messy task.
In this blog I am going to demonstrate two ways you can get started, one using Google Colaboratory and the other setting up on your own machine.
Google Colaboratory
“Colab” for short. This is a tool supported by Google which allows you to write and run Python code in your browser without doing a lot of setup. If you want to be able to write code from any computer and get started quickly, this is the way to go. Here is how I got started with it:
- Create an account with Google.
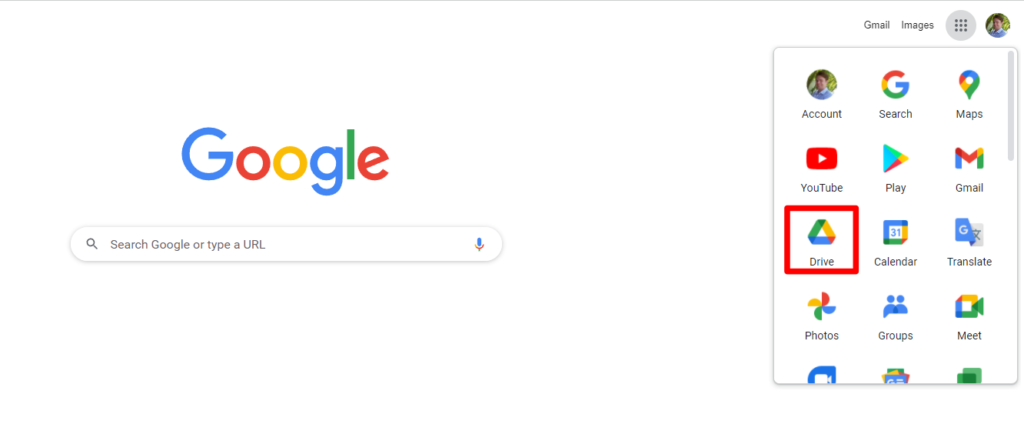
- Open Google Drive from the Apps Menu on the Google homepage
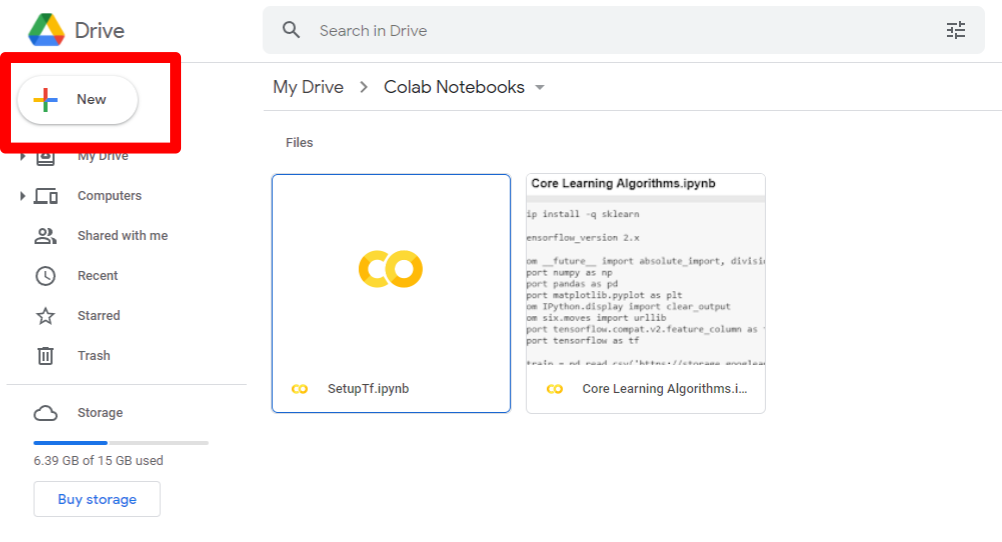
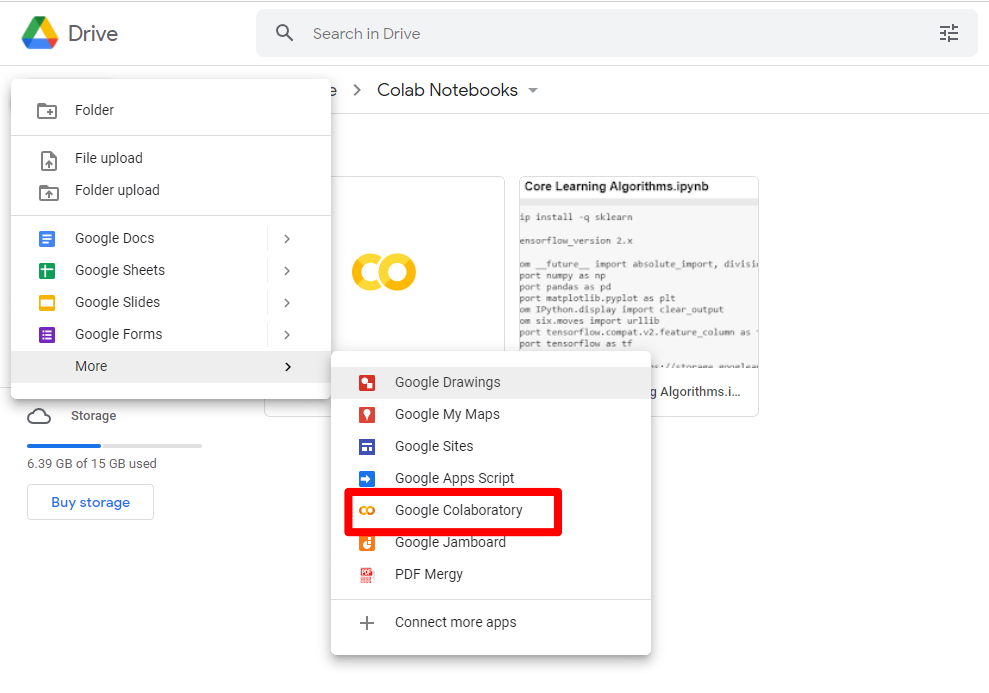
3. Create a new Colab Notebook
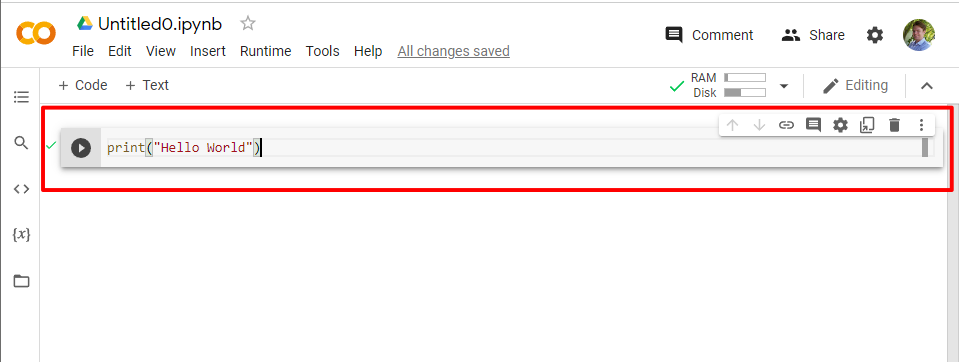
4. You should see a page that looks like this
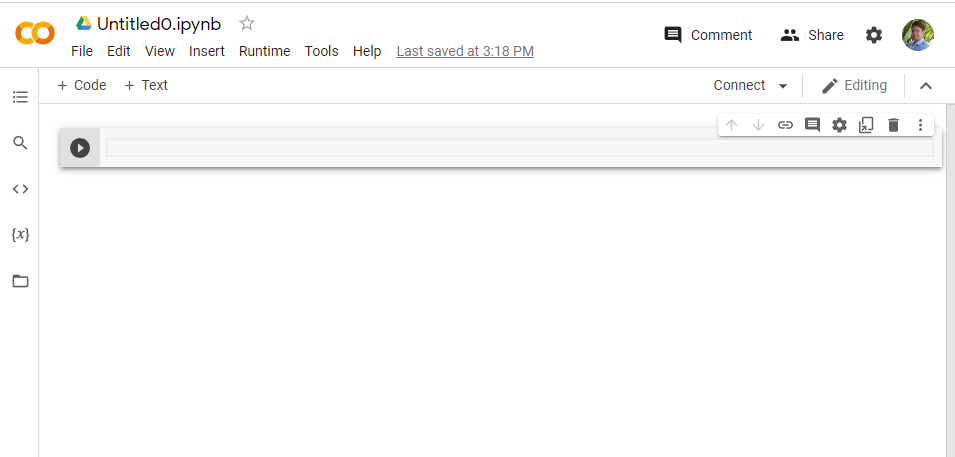
This is something they call a “notebook” (if you have used Jupyter Notebooks before you will already be familiar with it). They are documents which contain both boring normal text and blocks of code.
5. When you open a notebook for the first time there will already be a box to add code to. It is the box with the little “play” symbol on the left. To start writing code you just need to click inside the box.
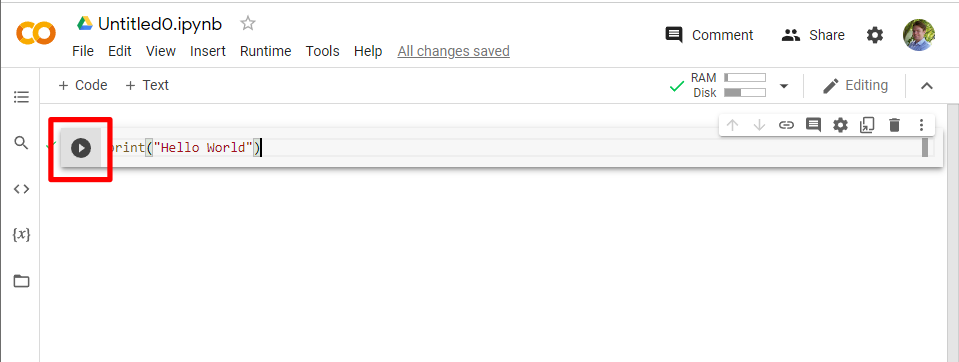
6. Run the code by pressing the play button next to it
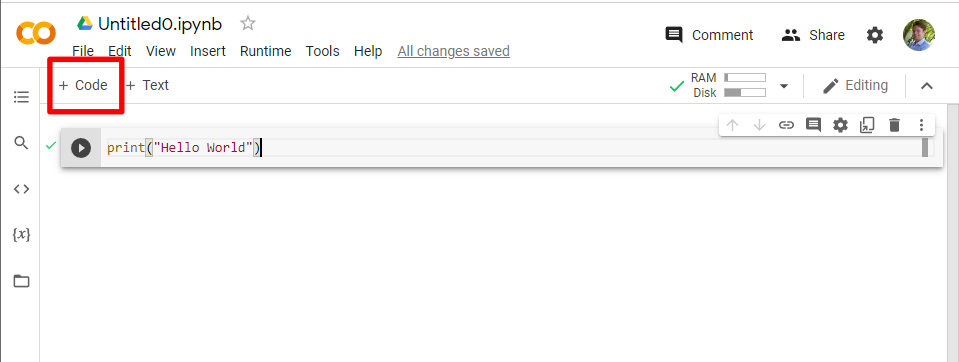
7. To add a new code block, hit the “+ Code” button in the upper left
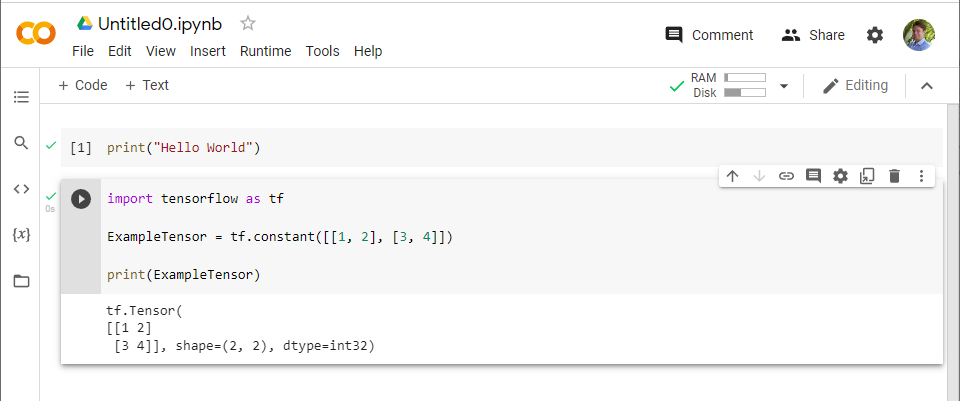
8. Colab will have all the modules you need, so to get started with TensorFlow you just need to import the tensorflow module into your code
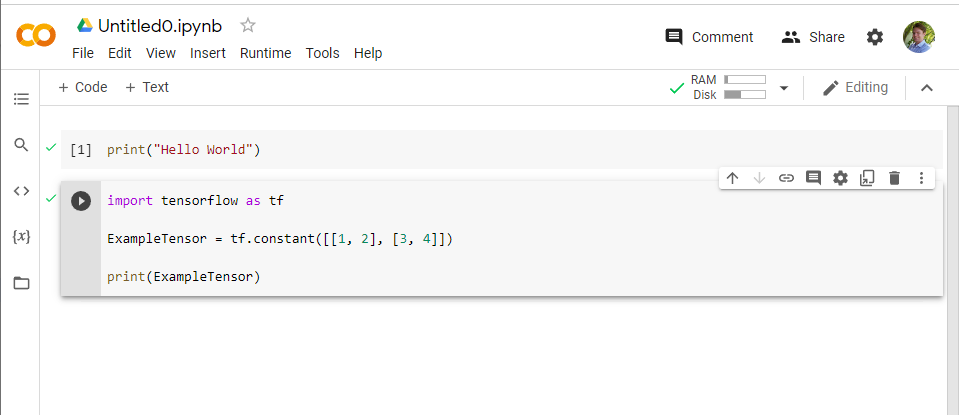
9. The result of executing this code should be a printed version of the tensor you created.
From here you can proceed to write any of the machine learning code you want! There are several advantages to this approach:
- All of the libraries you will need are already there. Setup takes less than a minute.
- Computations are run on Google’s servers, so it won’t matter what device you code from, so long as you have access to the internet.
- Google drive makes it easy to share documents with others
Local Installation with Docker
This process is considerably more complicated. The process for every computer and environment can be slightly different, so the best I can do is show you what worked for me. I’m using a Windows 10 computer and developing with Visual Studio Code.
At the time of this writing (January 2022) the latest version of TensorFlow, v. 2.7, is incompatible with the latest version of Python, v. 3.10. An attempt to install the library with pip is met with the following error.

The solution is either to downgrade your python version system wide, or to utilize a virtual environment (the recommended option).
I decided to go the virtual environment route using Docker.
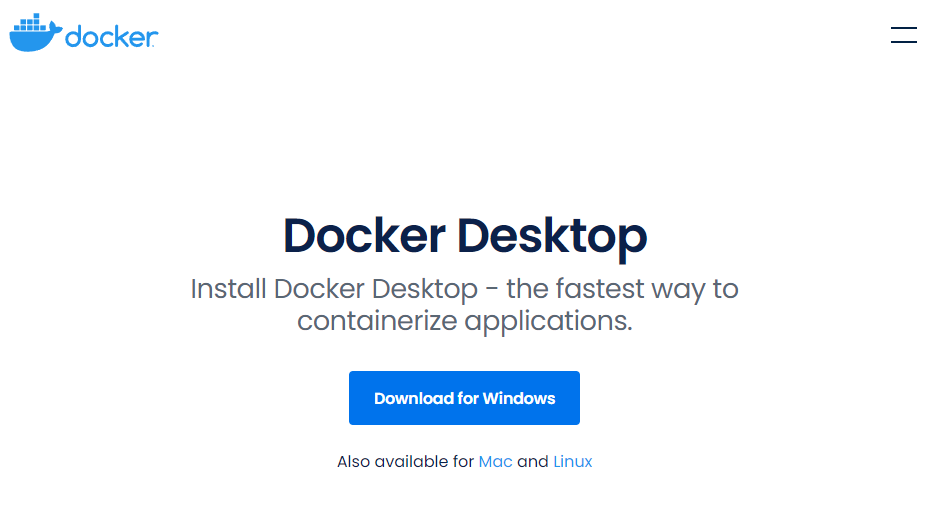
- Install Docker Desktop from the official website
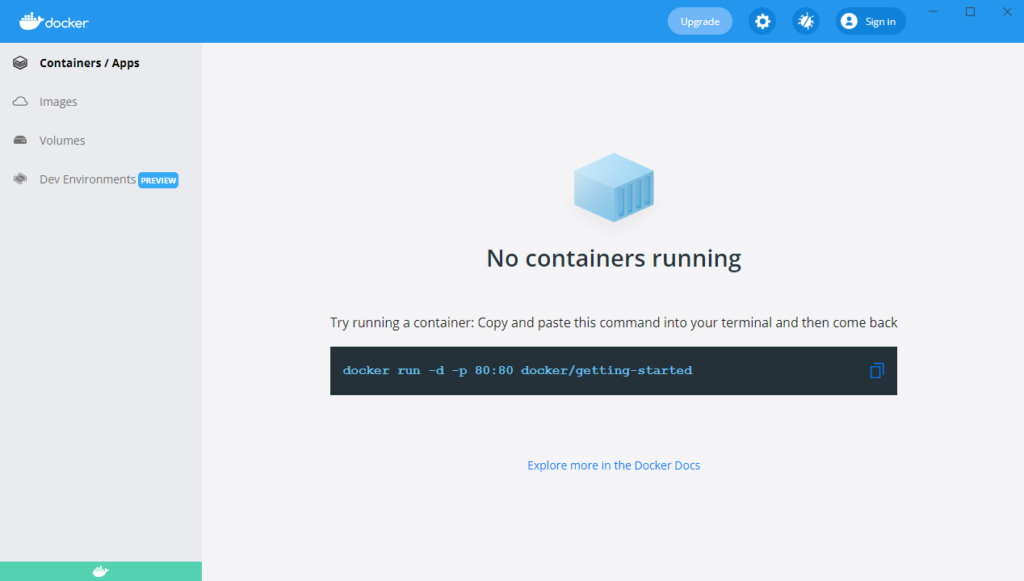
2. Make sure that your computer has virtualization enabled and that Docker is running.
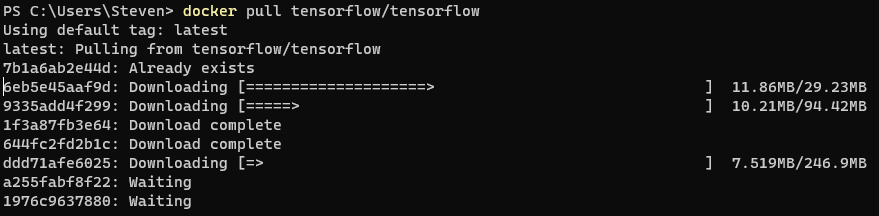
3. Open a terminal and enter the command docker pull tensorflow/tensorflow. This will retrieve an Image from DockerHub. The following explanation isn’t exactly correct, but you can think of an image like a collection of all the software you need. For example, the image might say “We need the Ubuntu Linux Operating System with Python version 3.8 and TensorFlow version 2.7.” Downloading this image could take around 5 – 15 minutes depending on the speed of your network.
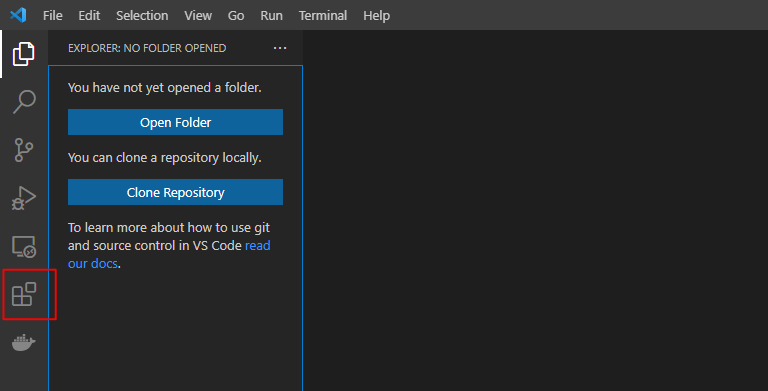
4. Open a VSCode window and go to the extensions tab
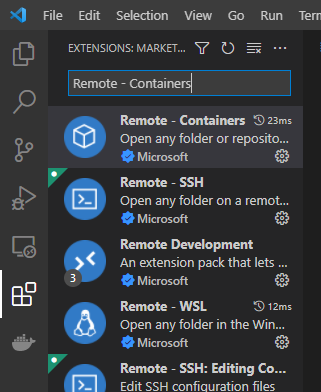
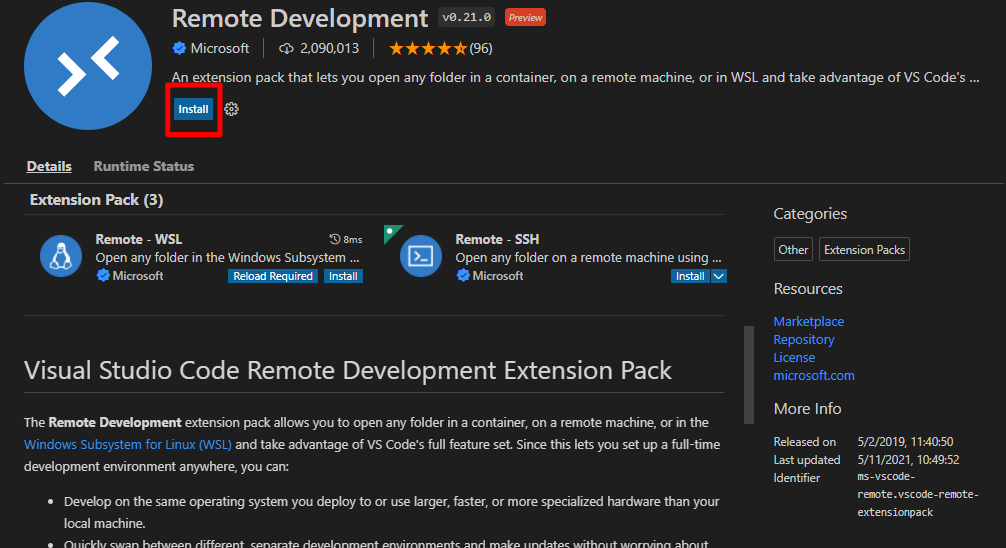
5. Search for and install the Remote – Development Extension pack from Microsoft
6. Open a VSCode window with the folder you would like to develop in.
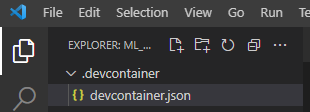
7. Add a folder titled .devcontainer and in this folder add a file called devcontainer.json. This is a configuration file which will tell VSCode how you want it to set up a development container. The reason we do this is because while your computer doesn’t have the right versions of software to run TensorFlow, the image you just imported with Docker does. The “container” you create in this step is a live, running instance of the blueprint the Image provided. You can read more about containers on the docker webpage.
8. Inside devcontainer.json you will need to add these lines of code. The “image” option tells VSCode which image it should use to build the container. We want “tensorflow/tensorflow.” The “extensions” option tells VSCode which extensions it should use once it is inside the virtual environment of the container. We want to designate “ms-python.python” so that VSCode will help us with intellisense.

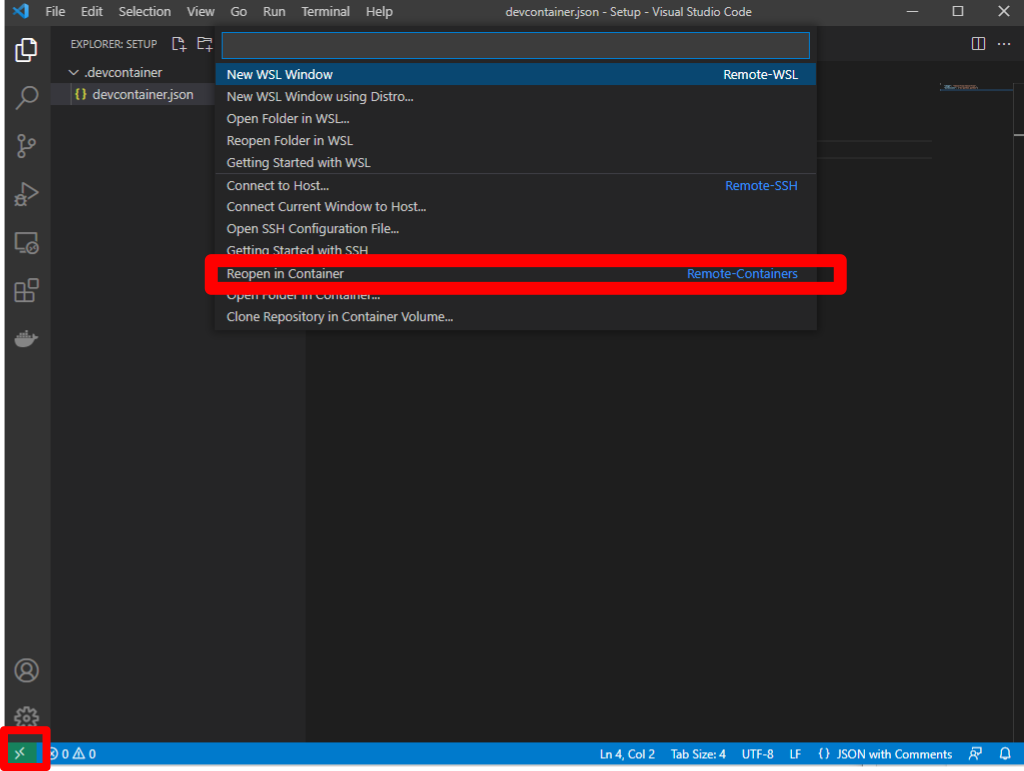
9. The next step is to actually open this folder in the development container. Click the green >< symbol in the lower left corner and then select the “Reopen in Container” option. Alternatively you can find this option by pressing F1 and then searching for “Reopen in Container”
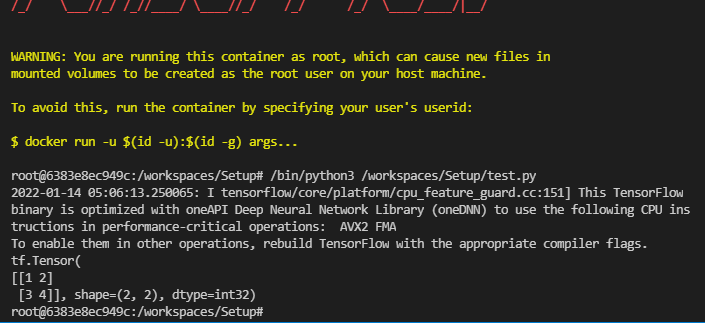
10. Now all that is left to do is check that it worked. Try creating a file test.py and adding the following lines of code. If you have done things correctly, when you execute the program you should see information about the Tensor you just created.

There are more sophisticated approaches you can take, but this should be enough to get you started. When you start getting to the point where you need other libraries or packages you can read more about how to customize your development environment by checking the VSCode documentation here and here