This week, some learning and coding began with JUCE. JUCE is a tool used to develop audio applications, and is built on the C++ language. There were a few initial items I wanted to learn with JUCE, namely building a UI, loading and playing audio, and looping audio.
Designing the User Interface
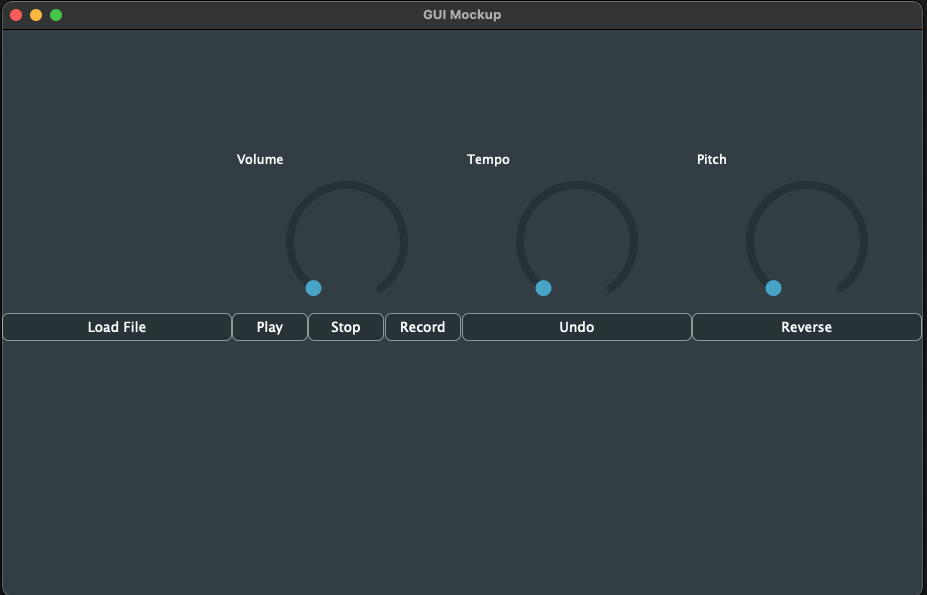
The first task I wanted to tackle was learning to build a UI with JUCE. Throughout some of the basic tutorials, I got to view code written by JUCE developers used to create basic UI elements. After viewing these, I dug into learning about creating different types of UI elements. This allowed me first to create dials for volume, pitch and tempo shifting. Next, I tested a few ways to create a basic dynamic layout. Eventually, I settled on a grid system, in which JUCE calculates the height and width of a window, and breaks it into blocks. Those clocks can then be easily used to place an element that stays in place as the UI size may change. Here is our UI mockup:

And here is the initial UI layout. It is currently missing the text box at the top, as well as the audio drawings on the left. These are planned for the future, and there is even a tutorial on how to draw audio waveforms which I plan to follow.
Loading Audio With JUCE
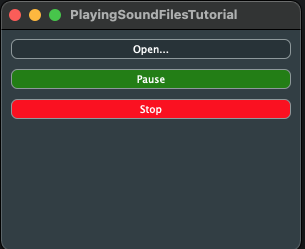
Now that a UI had been developed, it was time to get to learning about how JUCE operates with audio. JUCE has a tutorial for building an audio player, which was where I began. This tutorial teaches you about how buttons work, as well as how JUCE can load, play, pause, and reset (stop) audio playback. The Interface will look like this (while playing) once you are finished:
Looping Audio with JUCE
Finally, it was time to look into how JUCE loops its audio. First, I followed the tutorials for looping audio, which let , me view some of the basics. However, I ran into an issue with the playback. The audio I loaded was playing back way too fast, which was strange as it worked in the previous tutorial.
After digging into a few solutions, I’ve decided it could be the sample rate being different, or JUCE trying to play stereo sound from a mono file. I tried to play with how JUCE handles sample rate (the files ran at 10 kHz, while JUCE ran at 44.1 kHz), but was unable to find a solution here. When looking into playing only mono tracks, nothing seemed to help here either.
I decided to look back at the tutorial for loading audio into JUCE. This audio worked, so if I could carry over the looping techniques, maybe it’ll work here too! It worked, sort of. I got audio to loop, but only the first 512 bits of the file. Audio output uses a buffer to prevent a lot of data being loaded at once. This buffer obviously needs to move through a file, which the looping tutorial does. I’m still trying to work out just how, and will hopefully have an update by my next post.
Final Thoughts
JUCE boasts its capabilities and ease-of-use features. While some of these are great, I’ve found it easy to get into dark waters with it. I’m used to being able to search for solutions on the internet when I’m stuck, and there is just far less of that available with JUCE. This could make getting over hurdles more difficult, but we’ll have to wait and see when we get deeper into coding more features.
