Think about the most popular apps that contain a feed, such as Twitter or Instagram. The more you scroll, the more posts you’re shown. Although the posts have different content, the overall layout of each post is identical to the next, this is RecyclerView. RecyclerView is used to efficiently display large amounts of data on android applications. The entire RecyclerView is known as a ViewGroup, and the individual “post” layout is known as View Holder.
The fragment class is where the actual adapter is instantiated, and the ViewModel class is where the actual database call is made. In the example below, we use the Parse Database.
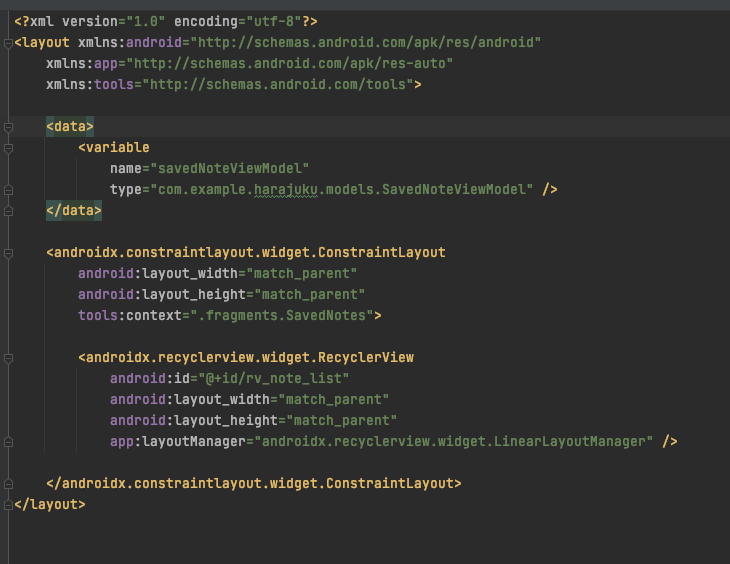
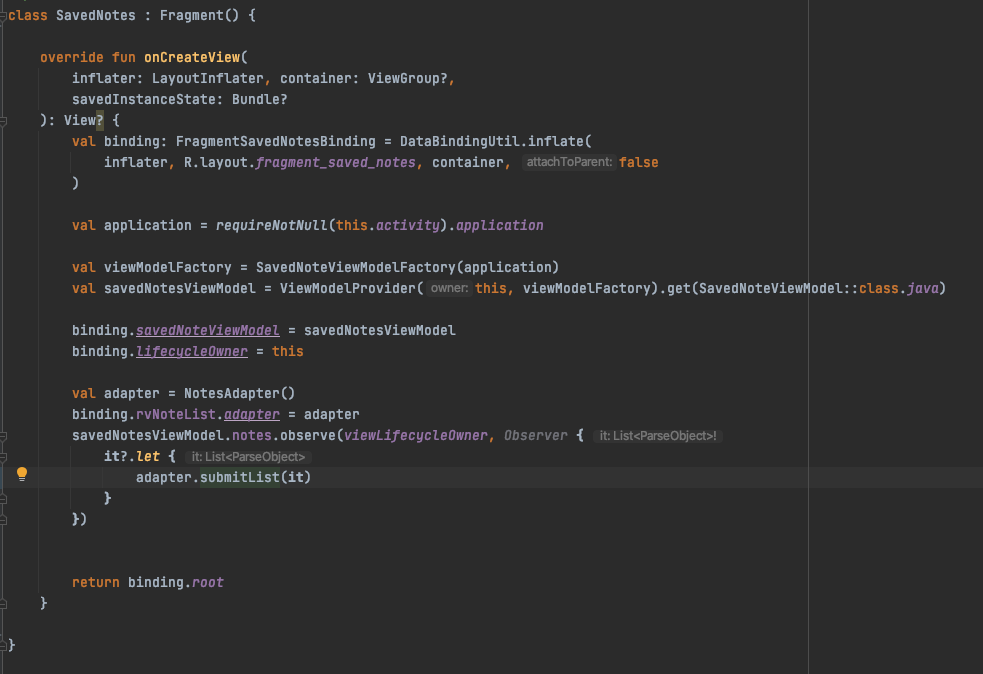
This is the code for a fragment that contains a Recyclerview. You’ll notice the data binding in the layout file, with the data element in the view root element
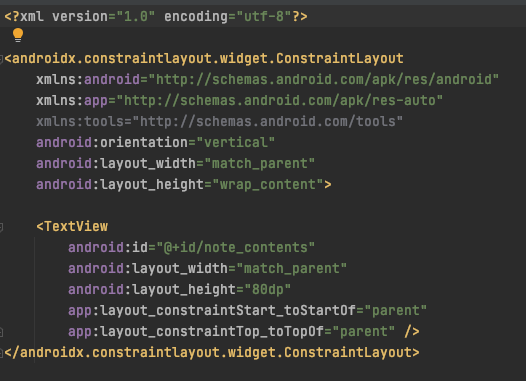
The individual item (e.g. one tweet) has a separate layout file. This is what each individual data item will be binded to.
RecyclerView binds the individual view holder to its data, this is done in the adapter class.
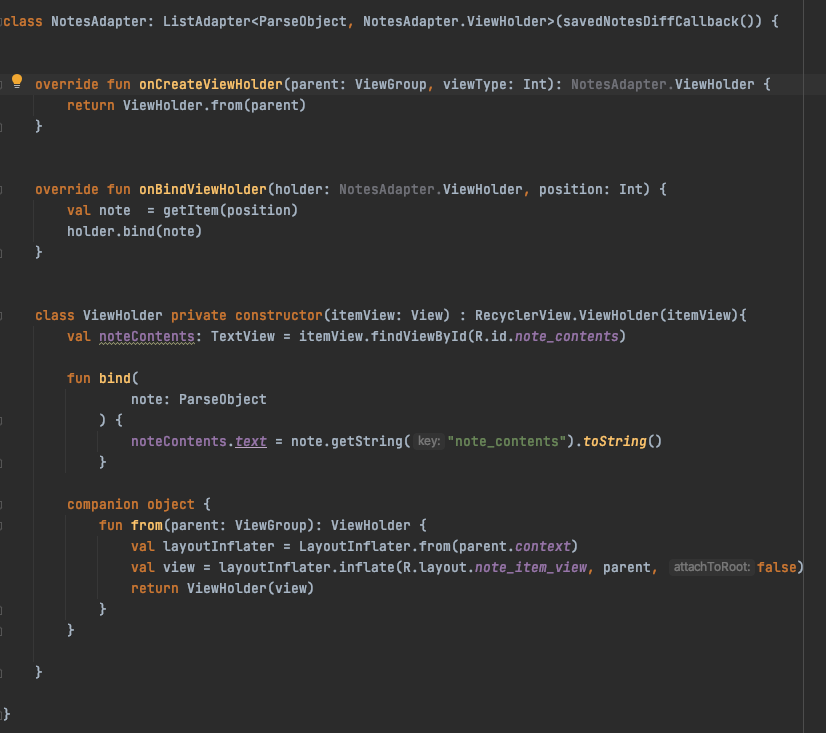
The adapter contains the onBindViewHolder function, where the viewHolder is bound to an item. In the above example, we have a list of notes. The onBindViewHolder takes a note at each index (or position) and binds it to the viewHolder.
The fragment class contains a function, onCreateView, where the adapter is instantiated. You’ll notice it also creates a new savedNoteViewModel.
The savedNoteViewModel sets out “notes” to the actual data that it receives from making the database call:
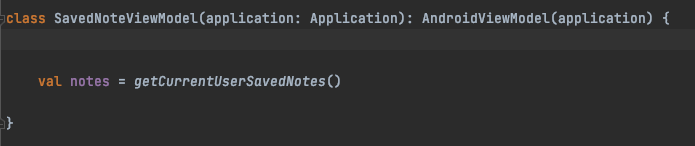
In this example, we use the Parse database. This function shown below queries the user’s saved notes, along with the actual data for each note. Then the list of notes is returned.

Once you run your app, you should see something like this:
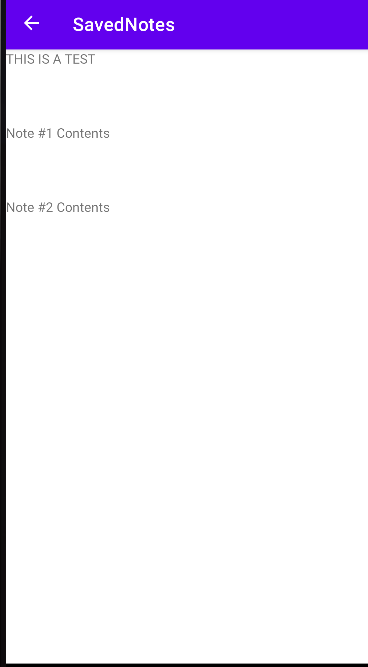
And there you have it! A short example using recyclerView, Data Binding, and Parse