In terms of computer graphics, and more prominently, post-processing, bloom is a technique that is used to reproduce a common visual artifact produced by real-world cameras. The effect looks a bit like this:
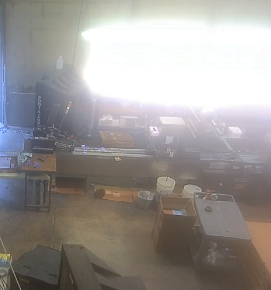
What we see here is an overwhelmingly bright area on the photo. This is… let’s just say, generally, undesirable – for obvious reasons. However, there are cases where a bit of this flaring effect adds a bit of intensity to points of interest in a scene, or perhaps creating a bit of dramatic contrast. This is also true for real-time (and offline) renders. Too much of this effect oversaturates the image with brightness, defeating the purpose; however, just enough adds some much needed realism in the way we capture the effects of lights in the real-world. And just to be clear, this “Bloom” effect I’m talking about here is a post-processing effect which enhances the relative intensity of the values defining a particular pixels color on the screen based on its relative brightness. That was a bit of a mouthful, so let’s break it down.
First of all, what is a post processing effect? Well, this is from Wikipedia: “The term post-processing (or postproc for short) is used in the video/film business for quality-improvement image processing (specifically digital image processing) methods used in video playback devices, such as stand-alone DVD-Video players; video playing software; and transcoding software. It is also commonly used in real-time 3D rendering (such as in video games) to add additional effects.” TLDR: post processing adds additional effects to the final image of a particular shot, or frame. There are many, many examples of post-processing effects. Just to name a few: Blur, DOF, Bokeh, Bump Mapping, Cel Shading, Film Grain, Dithering, Grayscale, Outlines, Scalines, Shadow Mapping, Vignette, Bloom, Upscaling, Downscaling, Night Vision, Infrared, HDR (High-Dynamic Range) Rendering… I could go on. But this isn’t shocking if you really think about it; how many ways can you potentially alter a picture? Well, your creativity (and your tech) is your only real limitation! All of those filters on your phone? Post-Processing.
Here are a few pictures demonstrating a few commonly seen image effects. No animals were harmed in the making of this blog post – Blue is simply acting as a nice leg rest for my dad.


So now that we have an idea of what Post-Processing effects are and a few common examples, how does one actually apply these effects to images? Well, in a previous blog post, Compute Shaders, I briefly walk through a simple example of utilizing compute shaders to invert the colors of an image. Inversion is a really simple post-processing effect. All we have to do is look at every pixel in the image and subtract it from 1.0. So values that were previously low, perhaps showing a black or grey color, will now look white!
Back to my loveable foot rest:
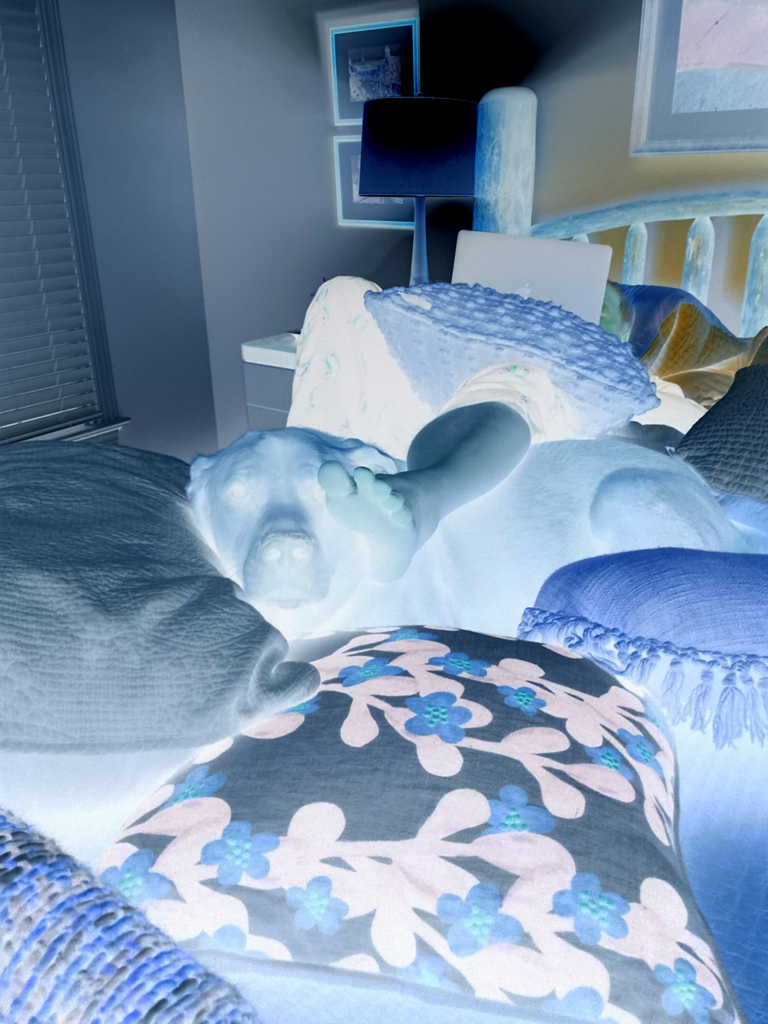
This picture could be produced in a number of ways – I just happen to be using a compute shader for demoing the inversion of an image, but more common techniques are the use of Vertex/Fragment shaders that work directly in the rendering pipeline. If you want more info on the pipeline, that same post goes through a gentle introduction into the rendering pipeline. To put it simply, whether we’re viewing a picture or a video (a bunch of pictures!), the GPU has sent a 2D grid of pixels to our display. Those 2D pixels are accessible for per-pixel processing within Fragment Shaders. So this is great new for us! Especially if we want to apply these neat effects!
However, if you remember, the rendering pipeline takes a bunch of data about a piece of geometry and works to convert those bits of geometry into triangles that are viewable in 2D screen space so that we can effectively “color” each pixel. And one of the most common usages of the rendering pipeline is for the submission of a mesh. Think about any video game you’ve ever played and think about a character in that game. Whether they exist in 2D or 3D, that character is made up of some very specific geometry (frequently bundled in an object called a Mesh) and the only way that geometry shows up on your screen taking the correct shape, orientation and shading that you’re familiar with is because of that geometric data running through the pipeline. So we can effectively render a mesh by sending it through the pipeline, but how do we apply an effect, say Depth of Field, to every part of our scene that it made into our view? Well, this is where the real magic of post-processing effects come in.
To keep this short, as it could be in its own blog post, the final image we view on our screen is shipped by our GPU in what’s known as a Frame Buffer. This Frame Buffer, often called a Color Buffer, is essentially a 2D grid with the dimensions matching the resolution of your displays dimensions – each cell defining the color of each particular on your display. So, first what we want to do is capture the unfiltered, raw contents of the Frame Buffer that make up the picture we see on screen and store that somewhere. A two-dimensional texture is a pretty intuitive choice due to it’s grid-like nature; not to mention that our GPUs have been optimized to look-up values in a texture, so everyone wins here. Next, we’ll need to take that final image that makes up our scene, then apply our post-processing effects to that. Finally, we can use that filtered texture and map it to a more appropriate mesh, or collection of geometry, for a 2D display. A simple quadrilateral works pretty well here (if you’re viewing this on an 2D screen, you’ll notice that it’s shape is a quadrilateral). And by “map it”, I mean texture mapping, which we won’t get into here. Once the filtered texture has been mapped to our quad, we can simply render that quad every single frame!
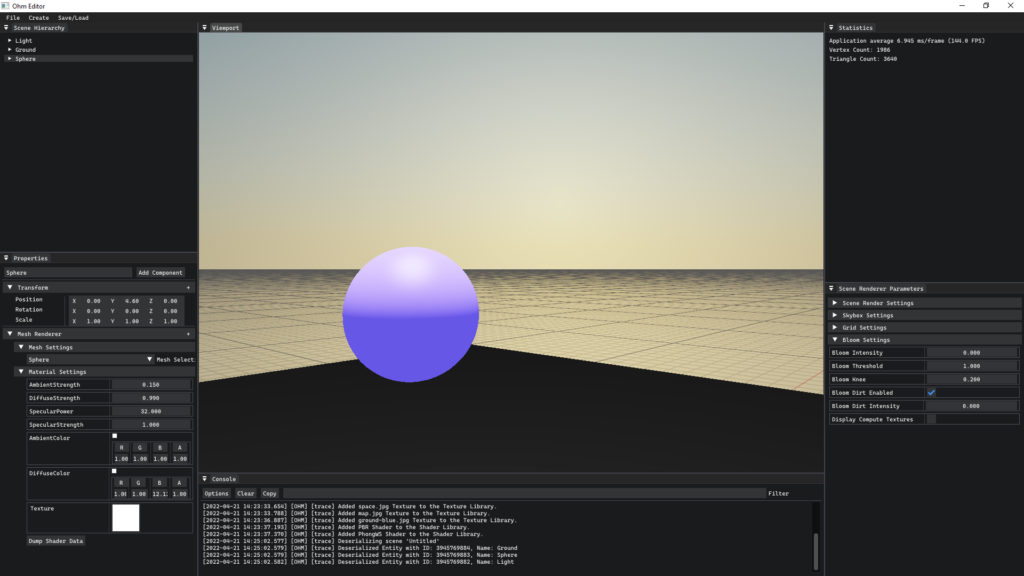
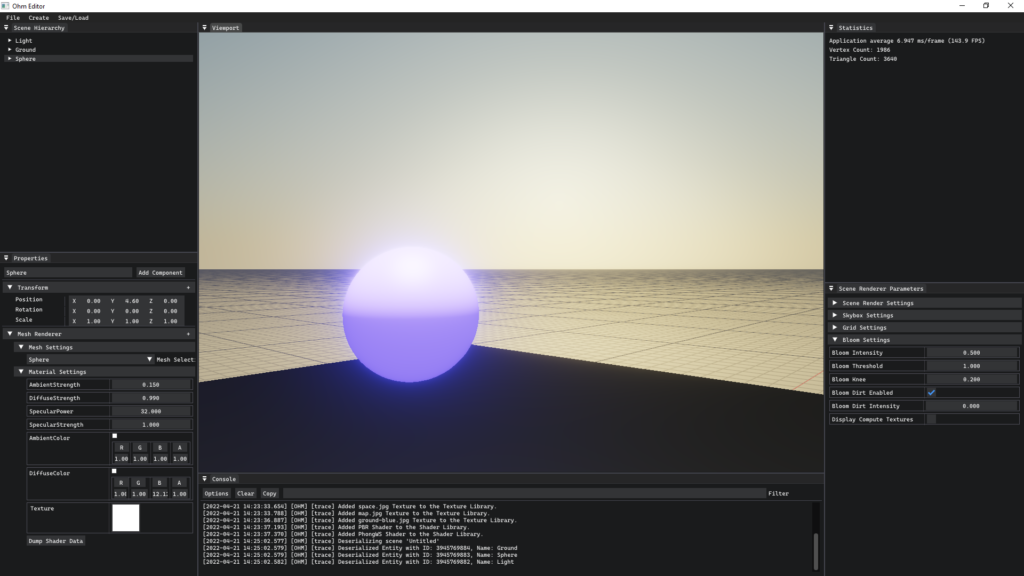
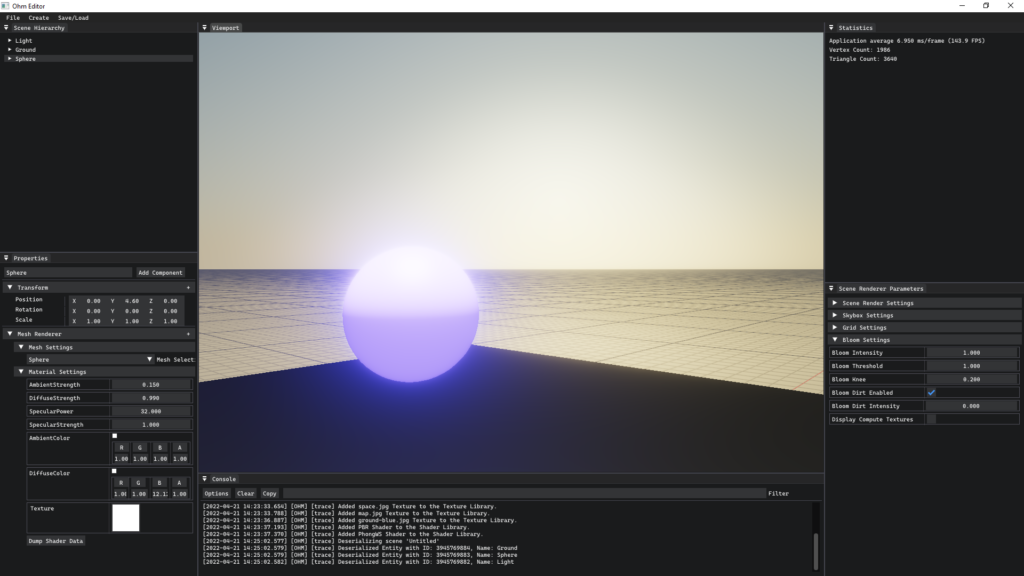
After doing quite a bit of work to make my C++ engine render some neat post-processing effects, I learned about the varying complexities involved for a number of techniques. Bloom has got to be one of my favorites! I plan on putting together another post explaining a technique to achieve Bloom in real-time applications – but in the meantime, here are a few very simple photos demoing the effect that I’ve produced in the editor of my work-in-progress game engine!