As learning React developer, I know the importance of code quality and consistency. One tool that has been instrumental in maintaining this consistency is ESLint. ESLint is a popular linter for JavaScript and React applications that can help analyze code for potential errors, bugs, and style violations. In this blog post, I want to share some of my experiences and tips for correct linting practices in React applications using ESLint.
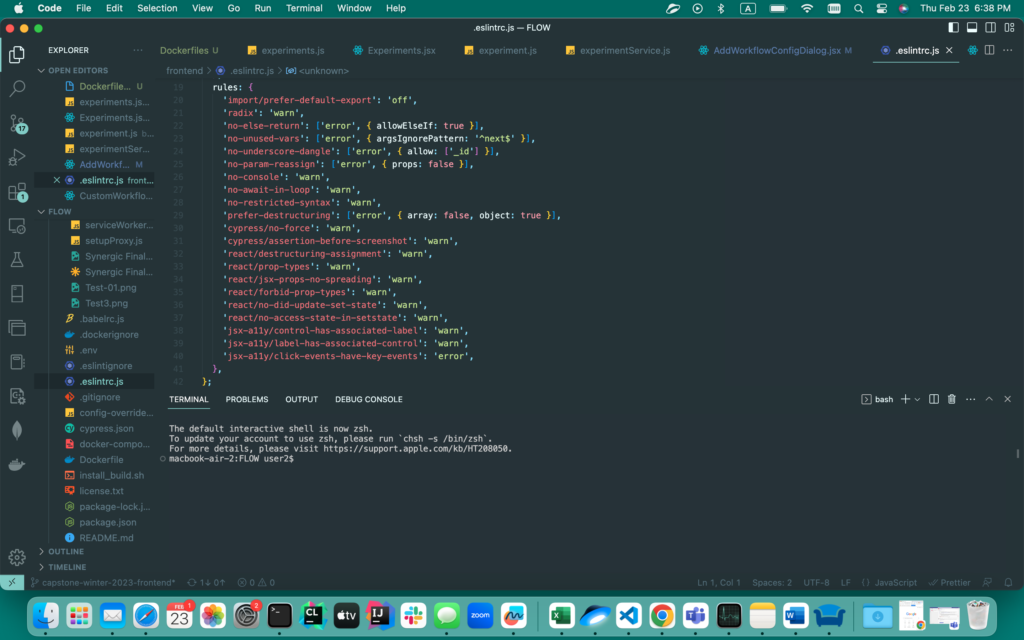
Set up ESLint: First, install ESLint in your React project using npm or yarn. Then, create a configuration file .eslintrc.js in the root directory of your project. This file will contain rules for your project.
Choose a Configuration: ESLint has several pre-configured rulesets that you can use. You can also create your custom configuration based on your project’s needs. Consider using the Airbnb ruleset, which is widely used and comprehensive.Here is set of rules that our project uses.

Use ESLint with Your IDE: Most modern text editors and integrated development environments (IDEs) integrate with ESLint, allowing you to see errors and warnings in real-time. This can help catch issues early in the development process.We use VS code.
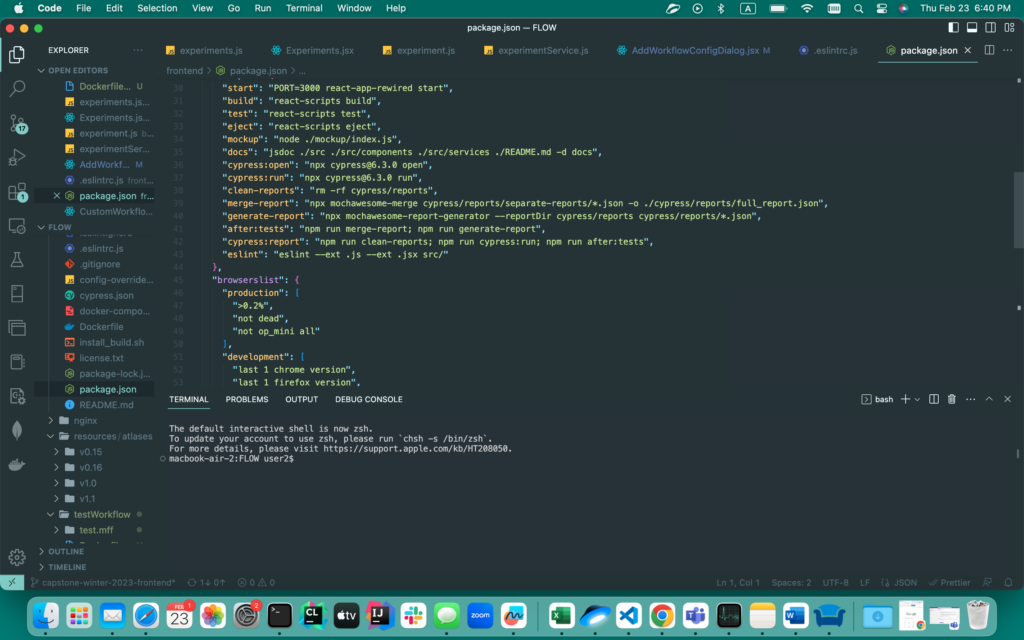
Automate Linting: Automating the linting process can save time and reduce errors. Integrate ESLint into your build process, so that it runs automatically on every code change. This helps catch errors and style violations before they get committed to the repository. You do that by putting linting in scripts in your package.json file.

Document ESLint Rules: Document the ESLint rules in your project’s README file or documentation. This helps ensure that all developers are aware of the rules and can maintain consistency across the codebase.
In conclusion, ESLint is a powerful tool for maintaining code quality and consistency in React applications. By following these best practices, you can ensure that your React projects are error-free and maintainable.


