‘A little work’ upstairs

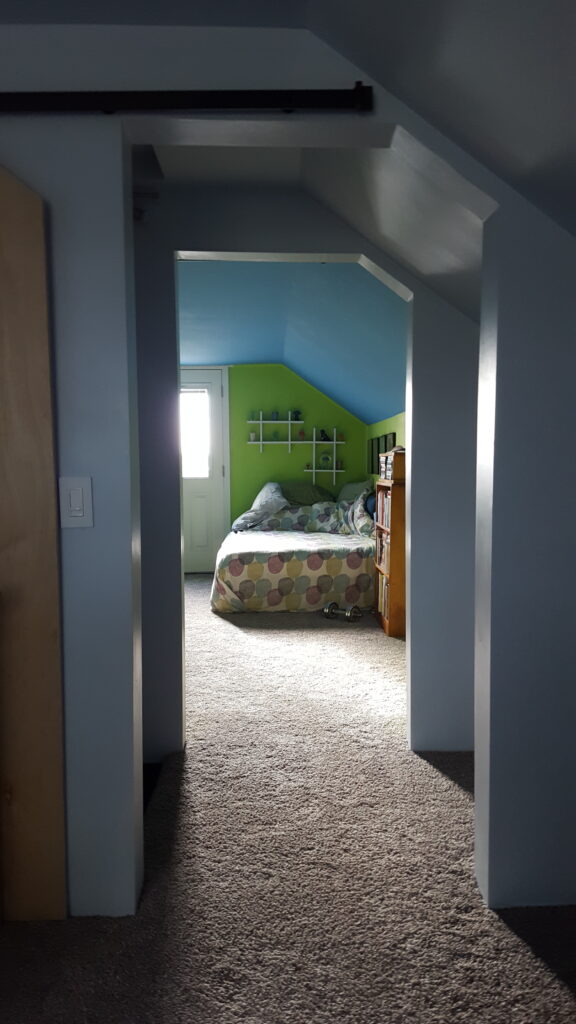
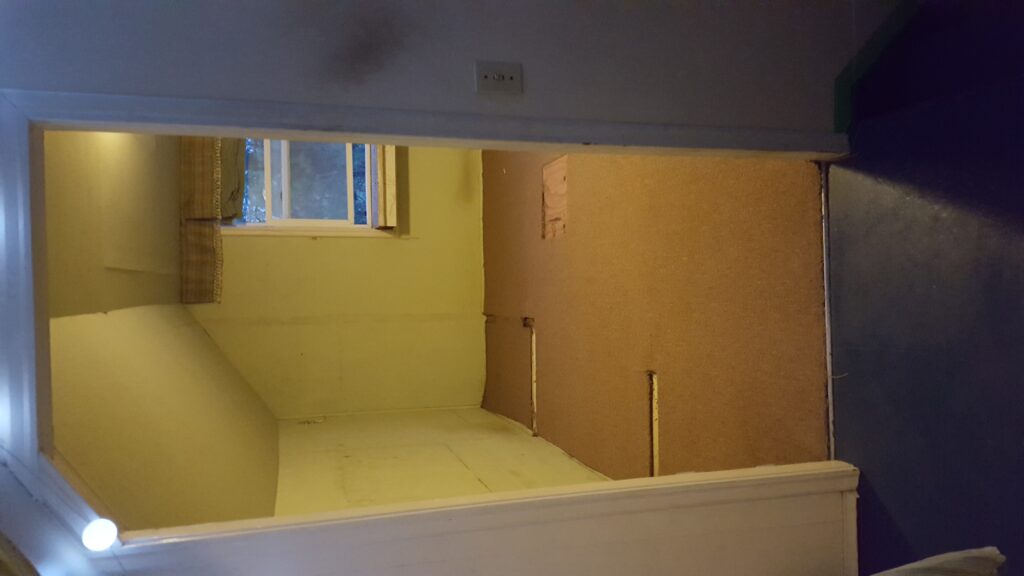
By the fall of COVID time, and loving the living room/dining room transformation, I really wanted to finish our last space to remodel. The upstairs of our home contains two bedrooms that are accessed on either side of the stairs. There’s an attic storage space access at the top of the stairs, as well.

When we first got the place, there was a chimney running through one of the bedrooms. Check out the Feb. 10, 2010 post for that story, and some early pictures of that space. In reality, we have been chipping away at improving these two bedrooms since we moved in. At one point I had used drywall mud and tape to clean up the plywood wall seams in this space, and it worked well for probably eight years. In the other bedroom, after doing the taping fix, I sprayed texture on the walls before painting. With that 20/20 hindsight the texture was the way to go – it has kept the tape from falling, and that room looked good enough to skip the addition of drywall.

Okay, so what did we do this round: Well, drywall, obviously, in one of the bedrooms and the stairwell. Carpet all the way across. Barn doors for both rooms. New doors for the attic access. Paint and some decor. Ahh – it’s the bedroom that I’ve been dreaming of.

Stairwell – midway through. No carpet yet, or hand rail, or door to the attic, or new light fixture.

So – it’s all done! So long and thanks for all the fish!

Oh, wait a minute – what about the garage…

Posted in Uncategorized | Leave a comment

Living and dining room renovation

Cut to the chase – here’s the living room after renovation.
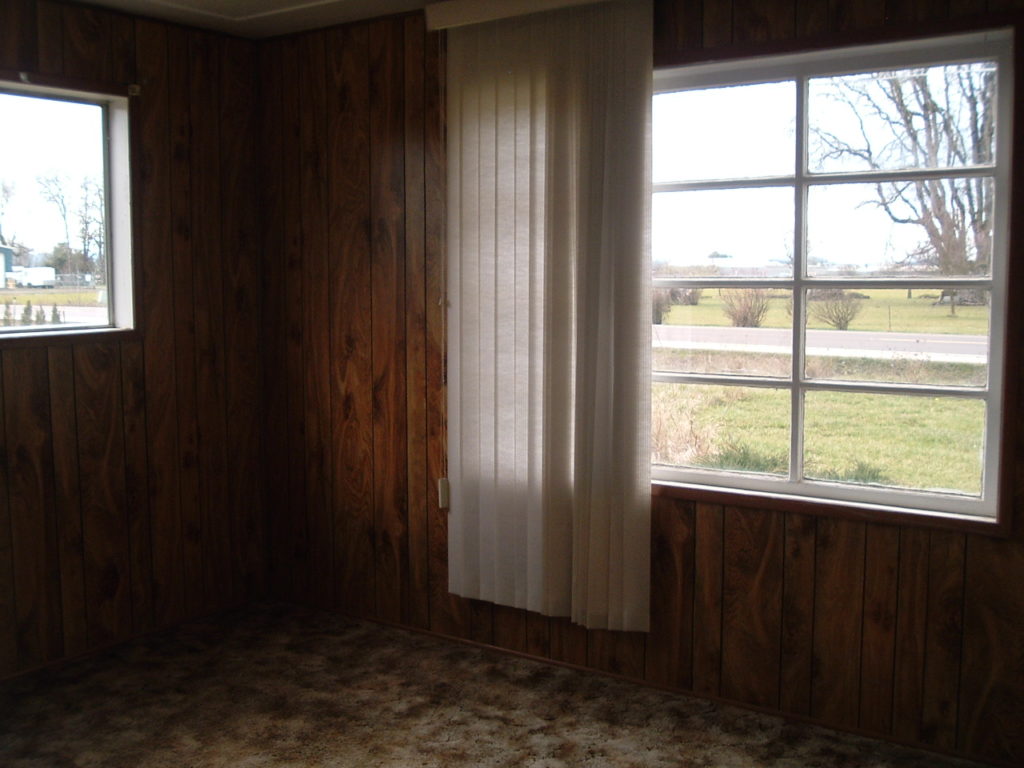
Original bedroom (now living room), ca. 2008

The west side of the house was originally two separate rooms. One was a bedroom sharing Jack-and-Jill access to the bathroom and a closet, and the other was the living room area with what would have traditionally been the formal entrance to the home, but probably never used as such.

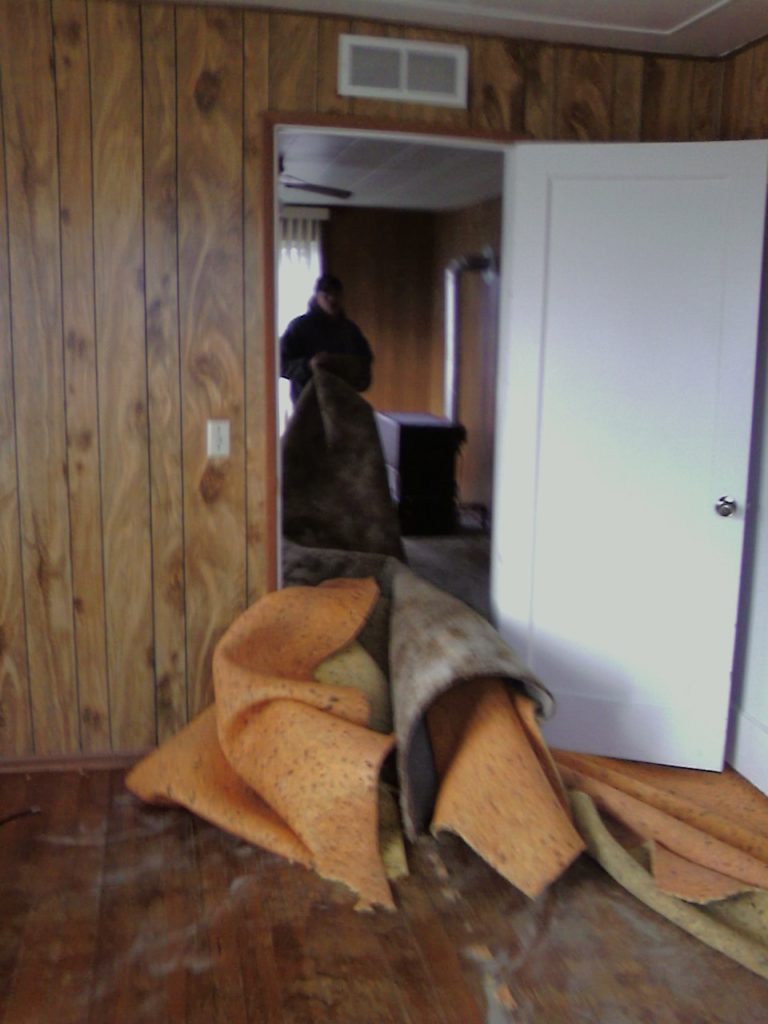
We started by taking out the wall a few years ago, leaving an exposed beam that we covered with stickers. On New Year’s Day 2020 we started demolition. Walls went down to the studs and the hardwood floor that we uncovered when we moved in was covered up with underpayment. I know – you might say it’s a crime to cover beautiful hardwood, but there were big gaps from where we removed the wall.

Next, Alpha Associates electricians came in and rewired both rooms, including installing new ceiling fans in both and wiring for uplighting in the crown molding set about six inches from the ceiling.

After that came the folks who install drywall, who carefully covered our stickers for some future remodler to find. And then the Village Builders put up all the trim (including that crown molding!)

Dining room after renovation.

You have to imagine what it was like to get rid of the wall pictured above and the difference that it made. The room runs 12 and then 14 feet wide, and now 32 feet in length. It’s a wonderful ‘open concept’.

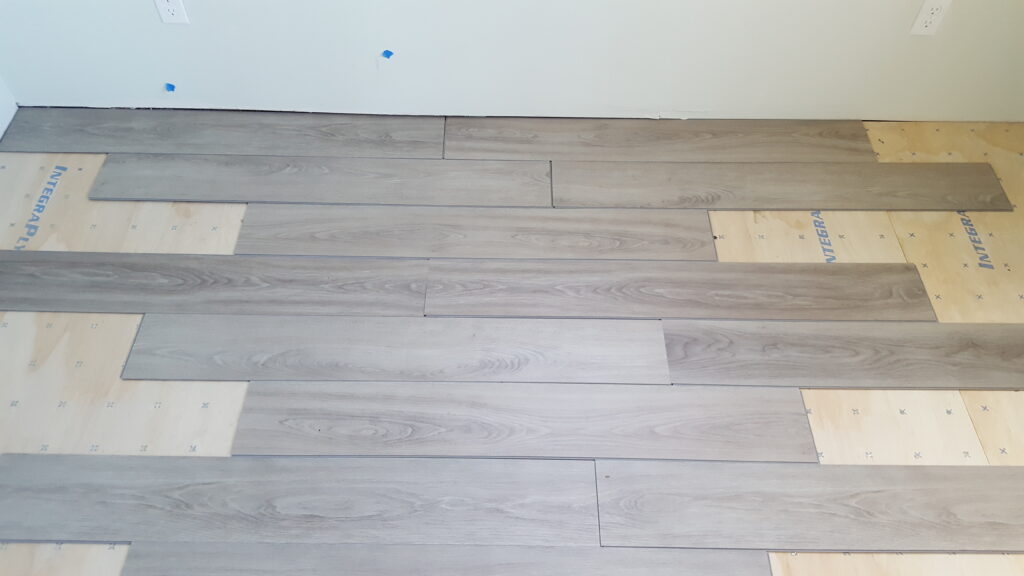
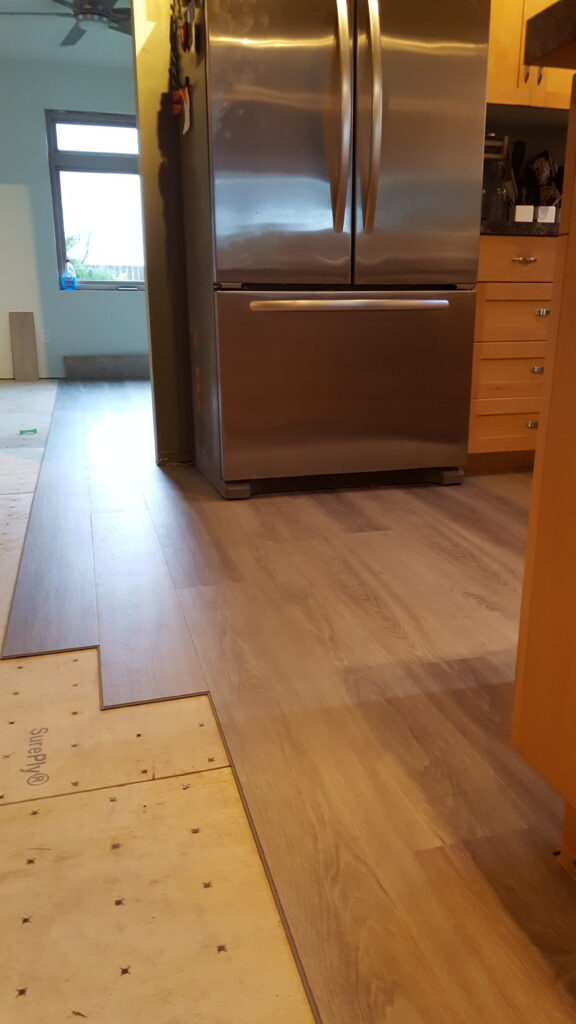
It’s an extensive run of the luxury vinyl plank, though. I think I’ll leave that to the professionals next time. The amount we laid covers the living room, dining room, kitchen, main entry and laundry area.

We finished up just as COVID-19 hit. I took a week off and listened to the radio as I spent that time painting. It’s pretty incredible how many coats it takes; as the light shifts throughout the day, you’re always seeing something you missed.

Two and a half months, less than $10,000, and the downstairs is complete. All that’s left is ‘a little work’ upstairs.

Bonus photos:

Under the paneling there was heavily painted plywood, with wallpaper in some areas.
There had not been insulation in the walls before.
See what I mean by a problem with leaving the wood floor? I would have liked to come up with a cost effective solution, but the wood plank is a very soft wood, and would not have taken too many more sandings, anyway. Another benefit of the path we chose is that with the addition of the underlayment and floating floor, the room is much more insulated.
One thing we got right as homeowners installing a floor, is to plan our layout so that it looked more natural. It wasn’t hard to do this, and since we carried the look far throughout the house, it has really made a difference.
One of the big goals was to make the floor more uniform. Here’s the area coming from the dining room into the kitchen.
Elsea approves.
This is how they leveled and attached the crown molding. I would not attempt this as a homeowner – we spent a few hours on baseboards and decided to bring in a professional.
Posted in Uncategorized | Leave a comment

Shop Construction

We first had the idea to get started on building a shop in spring of 2018.  But it’s amazingly difficult to figure out the steps to begin.  After many months and false starts we are pleased to work with Finish Line Concrete (pole building and concrete,) Mid-Valley Gravel (entrance culvert, leveling, trenching, gravel delivery and compacting,) Alpha Associates (electrical,) D. Hart Plumbing and Gecko Construction (interior framing.)

Bids came in around Christmas and HELOC was in hand by February.  It is now April, and it has already changed the property drastically.


New culvert and driveway.  So much less lawn to mow!


Check out blackberry removal to see how far this corner has come.  This is many inches of gravel in action.

This was a challenging phase.  Water and sewer line are in (after a frantic search for a plumber who could drop in the water line to complete the inspection, and Mid-Valley coming out again to hand dig it to the necessary code…)  But then, as they started digging the holes for the poles, the drain field was discovered.  What that means is that there was a layer of river rock that had to be vacuumed to a manageable stability.

After several extra steps, the poles were set and progress quickly appeared.


The next chapter is the bathroom and electrical!

Posted in Uncategorized | Leave a comment

Bye Bye Wall

Like many older homes, the rooms in our house are small – until we start messing with them.  The entire west side of the house is made up of the living room and dining room.  They were separated by a door that we rarely closed.  For less than $1,000 our contractor removed the wall while we were at work.

Now it would be nice to have fresh drywall, but that’s a project for another day.  That one will consist of removing the paneling, and the poorly textured plywood that I know is underneath.  When the rooms are bare to the studs, we will have the electrical redone, and insulate the exterior walls.  Then they will be covered with drywall (professionally done – I’ve learned it’s a lot less painful to hire this part out when I can afford it).  But until then we can live with an exposed beam.  I really appreciated the change, coming home from a regular day to a 32 foot long, open room; it felt like our very own “reveal”‘.

Posted in Uncategorized | Leave a comment

It’s a brand new bathroom!

Okay, so maybe it’s not totally new, but it sure does make the house feel so much more contemporary!  Facebook popped up a memory today from 7 years ago.  That was when the awesome Wade Hamm saved us by putting in the wonderful 6 ft. soaking tub that I found at the Restore Store.  It wasn’t just that we wanted a new tub… the drain pipe was so old that it was perforated, and filling the swimming pool under our house each time someone took a shower.  Something had to be done.

1/2 the bathroom in new subfloor, a new tub and toilet, some fresh drywall, and that’s the way we lived for 7 years.  A few months ago, though, Jeremy suggested that we finish up the project.

It started with leveling the floor so that the existing matched the replaced floor, then new floor covering (50 year warranty 1/4″ thick vinyl tiles).  The sink had been replaced with the vanity you see pictured below.  It was a quick $120 fix from Home Depot – but it worked (and that unit just went to a new home through the Restore Store!)  Our contractor for this round built a custom vanity that moved the sink from being right next to the tub.20151025_151419_resized_1


20151213_175423_resized

My least favorite element of the bathroom was the green sponge painting.  You can see it on the door.  It was everywhere!  That door’s gone, by the way.  You can tell we never used it, since it was blocked by a table.


So here’s what you see when you walk into the bathroom now. We moved the mirror over to where the door used to be.  No more green sponge paint!  The counter top is custom laminate called “ribbon wood”.  It was really a cost effective way to go, and since there was a minimum order, we have 3 feet of it left over to add a shelf on the other side of the room (at some point.)

20151214_174852_resizedDo you notice the glow from behind the mirror?  That’s LED lights hardwired in.  Anyone who’s stayed at our place over night probably noticed that we kept rope lights that ran along the ceiling on all the time.  It was a nice soft glow when you wake up at 3 in the morning.  Because we liked that so much, we wanted to make it permanent.    Here’s an image of how that actually works.

20151214_105327_resized

The lights are taped to the back of the mirror, and the power cord runs directly into the wall.  No visible plugs or switches, but there is a remote control if we want to switch colors.  LED technology is really cool.  You can see a Facebook video of these very lights going through their cycle of colors.


Remember my thoughts on the green sponge paint?  There was a bank of 6 cabinets at the north end of the room that were completely decorated in that style.  Seems I didn’t capture an image before, so just imagine it with me.  That sponge paint was covering at least 10 layers of paint, and they were inset doors (read:  were either stuck, or couldn’t completely close.  It’s the challenge of having a house that moves with the season.)  The cabinet doors were replaced with fresh wood, and they lap over the frame, so even if the house shifts, the doors still close beautifully!

20151213_175312_resizedAnyone ever want more storage in their bathroom?  We went from the 6 large cabinets, and then added 3 more under the sink.  I’ve got TONS of storage.

Many thanks to Dennis of Gecko Construction for making this transformation happen.  It has really improved my enjoyment of our home, and the overall cost was only about $3,500.

Two more big projects to come – the living room/dining room, and the two upstairs bedrooms.  Since there’s no plumbing involved, they should be easy… right?


Posted in Uncategorized | 3 Comments

With the right tools, anything is possible!

Last weekend we moved 12.5 of the yards of soil referred to in my last post, plus about 6 tons of gravel.  To do this I used my favorite toy… a “tool carrier”.  I call it a walk-behind bucket, but whatever you call it, it moves about a wheel barrow load at a time.

My dashboard

My dashboard

2013-06-22 17.22.38

Okay, I think I put about 7 hours on this machine.  Kinda wish I could have my very own.

Okay, I think I put about 7 hours on this machine. Kinda wish I could have my very own.

So what were we doing with all this gravel?  Making a 16 x 20′ patio under the balcony!  This will eventually be covered by a big deck, but for now a comfy summer patio works just fine.

The new patio!

The new patio!


Posted in Uncategorized | 1 Comment

Making Progress

We added 13 yards of “splendid soil” on top of a bunch of logs too big to split (filler).  Still more work to do, but getting closer!

south end of bed

south end of bed

North end of bed

North end of bed


Posted in Uncategorized | Leave a comment

Adding some height

new raised bed

new raised bed


This is what 10 truckloads of rock looks like. Not bad for a day’s work. Too bad the humidity is about 15% higher today, which pretty much makes it unbearable to keep working. Soon enough it will be beautiful, though.

Posted in Uncategorized | Leave a comment

The back room

I’m waiting for paint to dry, well actually it’s primer. A lovely sand color called “Fortune Cookie” will be the next step. It’s hard to believe that this little project started over Spring Break which was the last chunk of time I took off from work. With the house finally being level, we can now begin on the interior. This room serves as a storage/pantry/pet/hallway area.

There are two layers on each wall.  Paneling that didn’t even lay flat, and the plywood that we’ve found on all walls in the house; sometimes covered in wallpaper, sometimes covered with a 1/4″ thick texturing.  Yuck!  Either way, a Sawsall works well for getting it off.

Here’s what it looks like after it’s all stripped down and cleaned up.  The box to the right of the door is where a window used to be.


Next we brought in an electrician to put two power supplies outside (one on a switch; think holiday decorations) and an outside light.  There’s also a quad outlet for the future work station.


While we’re at it, let’s make that doorway a bit bigger.


Here’s a typical old door in this house.  See how far off kilter it is?  The house must have been off level to begin with.


Same doorway, but with new door and drywall.

So here’s the room towards the end of my summer break.  Taped and mudded, and ready for texture.  Everything’s masked off… Ugh, hours of prep work and the whole house is still covered with a fine layer of drywall dust.  This project started at the end of March!  It’s now the end of July…

After texture (thanks to the Haney family for loaning me the texture gun again 🙂 ) and a coat of primer.  Bring on the Fortune Cookie!

Posted in Uncategorized | Leave a comment

No new projects for the next year, my husband says.

When I first looked at this house in February of 2007, the first thing the real estate agent did when we walked in was to set her lipstick tube on the floor so I could watch it quickly roll towards the stairs. The story from the selling Realtor was “there’s something wrong under the house” but the inspectors reports could only say that there wasn’t enough access to get under there and see what was going on. After looking at several other properties, we jumped in, knowing full well that there was “something” that we’d have to deal with.

Fast forward to today, almost 4 years later, and as of yesterday afternoon, you can set a lipstick tube anywhere on the floor in the house and it won’t roll in its own. Thanks to Terra Firma for their service in installing a new central beam and smart jacks; our house no longer slopes down to the center. Our celebration was confirmed last night as we read through the original inspector’s report and could say that we’ve tended to 15 out of the 18 things that were originally advised to be addressed. Not bad for a couple of novices. Crazy thing is, we weren’t using that as a checklist. We’ve been working off of what seems like the next most important thing to deal with.

What was the process for reaching this monumental occasion? Thanks for asking! It all started way back at the beginning when Jeremy and Wade dug out a decent crawl space under the house. Thanks to Angela for supplying us with her kid’s sled so that Wade could shovel dirt onto it, and Jeremy could pull it out with a rope and dump it. From there, the original jury rigged piers were cleaned up a bit, and it was time to start dealing with the water (see earlier post about water everywhere.) The solution for “water everywhere” was to install an automatically operating sump pump. Terra Firma tried to just install the jacks, but at some point, someone had covered dry rotted support boards with new boards. Makeup does not a good foundation make. Anyway, new beams = no more dry rot.

So even if I can’t do any big projects for the next year, we can at least not worry about the desk chair rolling across the room, or a spilled glass of water chasing after the rug. I think this might have been the best investment in home improvement yet!

Posted in Uncategorized | Leave a comment